
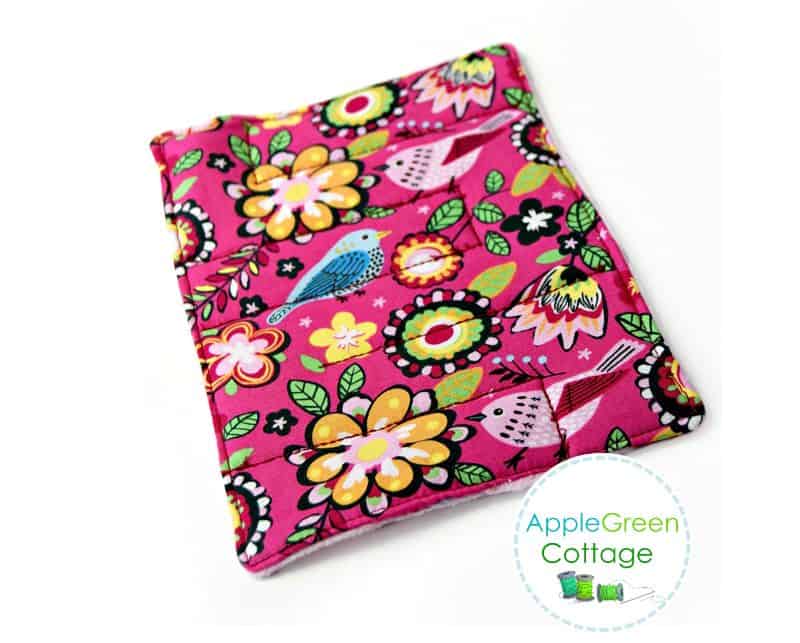
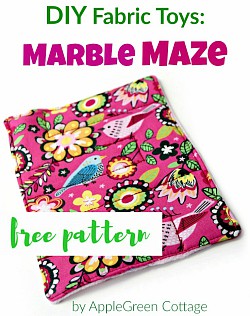
Make a fun fidget toy to keep your kids' or your own hands busy and your mind relaxed.
It's an easy, pocket-size fabric diy marble maze and a popular diy fidget toy for all ages. Silent, portable, and safe - ideal for travel, classrooms, or quiet play time.
Scroll down to get your free marble maze template!
Want a printer-friendly option of the whole tutorial+pattern without ads? See the → optional PDF file in the shop.
Table Of Contents
Why people love this marble maze tutorial
I've received many, many emails from readers loving this calming fidget. A great diy fiddle toy! Good as:
- quiet play for toddlers
- good fidget object for the elderly, or for Alzheimer patients
- a good sensory toy for autistic children
- calming fidget toy for all ages

You'll sew it in no time, and it's a great scrap buster. Plus, it's a practical sensory toy loved by parents, teachers, and therapists alike.

Join the FREE 6-part email guide and make super easy diy GIFTS - each in 30 minutes or less! You'll love it!
Feature Video
First, for those of you who like video tutorials, I've made a video slide-show to get the feeling of what the sewing process will be like. (Spoiler alert: easy!)
Finished Size
The 5 ½" by 8" size is a fun and convenient pocket size you can roll and easily tuck in a purse.
Supplies
Shop my personal favorite sewing supplies on Amazon HERE.
- 6.5 " x 9" scrap of fabric for the back
- same size soft fusible polyester interfacing (stabilizer)
- same size fleece for the front (choose a solid, no prints for the front!)
- contrasting thread, pins orwonder clips
- a marble***
- optional: two pieces of fabric (1 ½" squares) in a contrasting color to mark the start/end of the marble maze.
- the marble maze template
Sewing STEPS
And now the photo step-by-step tutorial.
Step 1 - Get the FREE Pattern
Join our mailing list and get the marble maze sewing pattern emailed to you:
Want a printer-friendly option of the whole tutorial+pattern without ads? See the → optional PDF file in the shop.
Step 2 - Cutting Instructions
Using your free PDF template, cut rectangles along the Cutting Line (marked by a RED SOLID LINE):
- one piece out of your backing fabrics,
- one piece of soft fusible interfacing for the back and
- one piece out of fleece (solid is best).
- optional: cut 2 tiny squares of contrasting fabrics (1.5 inches by 1.5 inches)
Step 3 - Add interfacing

Apply interfacing to the back of the backing fabric:
Step 4 - Mark Corners
Take the front piece and place the 2 tiny squares in the opposing corners, on the green dotted mark (see the diagonal green dotted lines in the opposing corners? Those.) It will look like this:

Then sew diagonally over the tiny squares. Press to the outer side, so you've got tiny triangles now.
Though helpful in playing the game, these markings are not totally necessary, you can safely skip the tiny squares and the entire step two if you don't have the time.

PRO TIP: when you add the triangles, snip off a bit of the fleece at the back side to reduce bulk.
Step 5 - Assemble Back And Front

Put the two main pieces of fabric right sides together. Sew all around the pieces, using a ⅜" seam allowance (on the template, it is marked by a black DASHED line (stitching line). Don't forget to leave a gap for turning and inserting the marble, just as marked on the PDF template.
Step 6 - Trim corners and turn right-side-out

Clip the corners and any excess fabric on the seam allowance for a good fit and to reduce bulk on edges. (But be careful not to snip into any stitches!)

Turn right side out. Push the corners out using a point turner tool, a knitting needle, or a chopstick.

Then press the piece flat. (Only iron over cotton, never directly over fleece!)
Step 7 - Insert the marble

Insert the marble through the opening, and move it away from it (check out the area marked by the green star in the PDF template.) You can secure it using pins, so it won't move to where you don't need it to.

Then stitch the opening closed, by machine or by hand.
Step 8 - Stitch The Marble Maze Lines
Now, you'll sew the internal lines of the maze. To transfer the topstitching SOLID blue line onto the FRONT fabric, simply cut off the frame of the printed PDF template (= the ⅜" seam allowance area), then place the paper template onto the front fabric, secure with a few pins to let it stay in place. Like this:

Now, stitch over paper. You'll remove it later. As simple as that!

IMPORTANT Sewing tips
- VISIBILITY: Use a contrasting thread to make it visible. When playing, it's good to see the lines!
- SAFETY: Secure all stitches well (backstitching) if you're using the simple straight-line stitch. Or even better, use a triple stitch. It's safer, too, because there will be even less possibility for the marble to break through (toddlers are well known for persistence, and if there's a way to get the marble out at a place where the simple stitch has given in, --- Well, it's better to either backstitch or use a strong, reliable stitch.
Step 9 - Remove Paper

Remove the paper template. An easy task!
Step 10 - Topstitch Around
The only thing left: topstitching around the border. Move the marble to a central position so it won't be in the way, you can secure it using pins, so it won't move. See the photo below:

Topstitch around the maze using an approximately ¼" seam allowance. You don't need the paper template for that, though I marked it on the template to give you a feeling how to proceed. Remember to keep the marble out of the way when sewing.
Done! A great DIY present that's easy and quick to make.

Bonus Tips
If you are making your own maze template, always make sure to make the seams wide apart, to enable the marble to move between the layers smoothly. When making the maze stitches, leave enough room for the marble to go through.
Love this fidget toy? Don't miss our other fun DIYs like this Reversible Bunting Banner pattern or the Bean Bag Toss Set tutorial.
What material should I use to sew a marble maze?
When creating this practical diy fabric fidget, I tried out three versions, fleece, felt, and (interfaced) quilting cotton. Here are some pros and cons:
- PRO FLEECE: You get the desired thickness without any interfacing. And it's so soft!
- PRO FELT: easy to sew. No turning needed. Just sew straight over the stuff! Don't use the thin felt though!
- PRO FABRIC: soo cute! Easy turning and topstitching. But take care to use thicker fabric - or use soft fusible interfacing.
When making your own marble maze run,
- You can use FLEECE on both sides of the marble maze: follow the same steps as with the fabric marble maze. The only difference is, you don't need any interfacing.
- FELT MARBLE MAZE: even easier to make, you don't even need to turn the material right side out.
You've got everything you need to make a fun, practical toy that's quick to sew and loved by all ages. With the free template and step-by-step guide, even beginners can stitch up a marble maze that's perfect for quiet play, gifting, or on-the-go entertainment. Happy crafting!
WANT A PRINTABLE COPY OF THE WHOLE TUTORIAL?
Want a printer-friendly option of the whole tutorial+pattern without ads? See the → optional PDF file in the shop.

This tutorial is also part of Printable Tutorials BUNDLE
100 PDF tutorials now, and growing!
Want More Free Patterns?
Get email updates and never miss out on new patterns, printables, and tutorials:
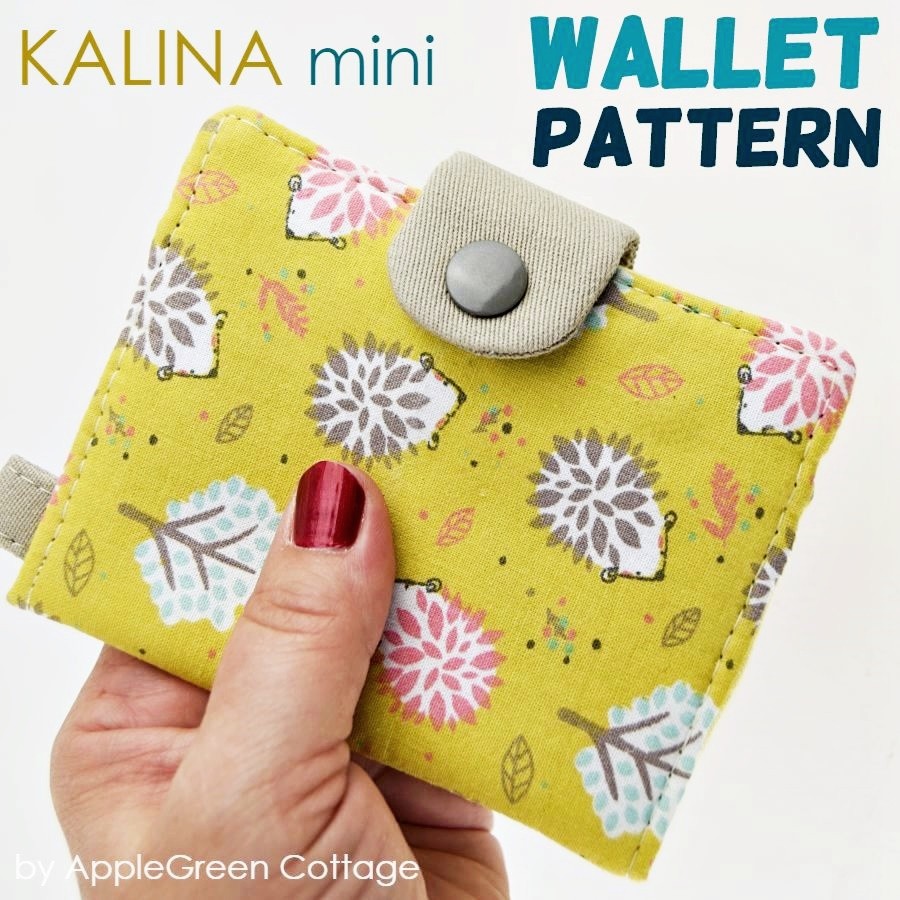
Or …check out this popular PDF pattern - the Kalina Mini Wallet in our shop. So practical!


Melinda McKenry says
Thank you for the free template and the great free pattern. I really appreciated the pictures which made the process even simpler. The marble maze went together quickly and easily. I am making quiet time toddler activity/games for my sister who now has three grandchildren under the age of 2.
Lynn Tjerne says
Looking to make this for my granddaughter. We are just starting to get her evaluated for autism. What size marble do you use? Also, the ladies at my RV park make fidget quilts to give to the care centers in Yuma, AZ, and other places. This would be something right up the alley.
Thank you!!
Irene Campbell says
Hi I love your pattern for the marble fidget, but sadly the link to the template no longer works. Is it possible to get a copy of the template?
Thanks
Damjana Jakos says
Irene hi, the template gets emailed to you when you enter your email in Step 1 ("Where should we send you the free template?") Happy sewing,
Brittany says
Made this today! What a fun little project. Thank you!
robert & madeline Newton says
can't wait to make it ...i think this is great for traveling ...thank you...from a grandma of many ...love all of them the same no matter there age....
Mom2Caleigh says
I love this idea! Thank you. I noticed on some of your patterns (such as Memory Card Game) you have directions for the parents / child. I know this is very simple - but a little tag with instructions for use would even make it better. Any suggestions for when I write my instructions? When having these at a boutique- people will ask about them. Thank you!
Damjana at AppleGreen Cottage says
Hi, a this is great question! Yes, people often ask about how-to-play, and that is why I give a bit of instructions in my tutorials. What about directing people to the tutorial on my site, if they ask about how to play? Just an idea 🙂 I'm happy you liked the how-to.
Anonymous says
Thank you for a wonderful, easy to follow pattern!
Kathy G. says
This looks like a great idea. My daughter n law has been putting together "quiet time toys" for her 2 yr old. She is expecting another child n a few months and is going to have a basket of these type of toys for when the new baby is either sleeping or when she is nursing for the 2 yr old to sit and play quietly. Thanks for sharing.
Damjana at AppleGreen Cottage says
You're welcome 🙂
Pam @Threading My Way says
Great tutorial, Damjana, and a fun little toy. Well done on addressing the safety issues. I've featured your tutorial today.
Kathy says
Thank you for sharing this pattern. I wonder if this would be a good fidget object for the elderly, or for Alzheimer patients?
Barbara says
This is a great gift for a child who has a baby sibling. S/he can leave it laying it around without any concern that the baby will come across the small marble and perhaps put it his mouth. Not that any kids I know leave their toys out!! Thanks for the tutorial and the pattern. I'll be making this up right away.
Carol says
This is very clever for a sensory toy. I will make a few and have a group of autistic children play with them. Thank you!!!!!
Damjana at AppleGreen Cottage says
Carol, a great idea, go for it! I've been meaning to write a post about the benefits of this DIY toys for kids - fine motor, sensory, including the therapeutic viewpoint. A great sensory toy by all means!