

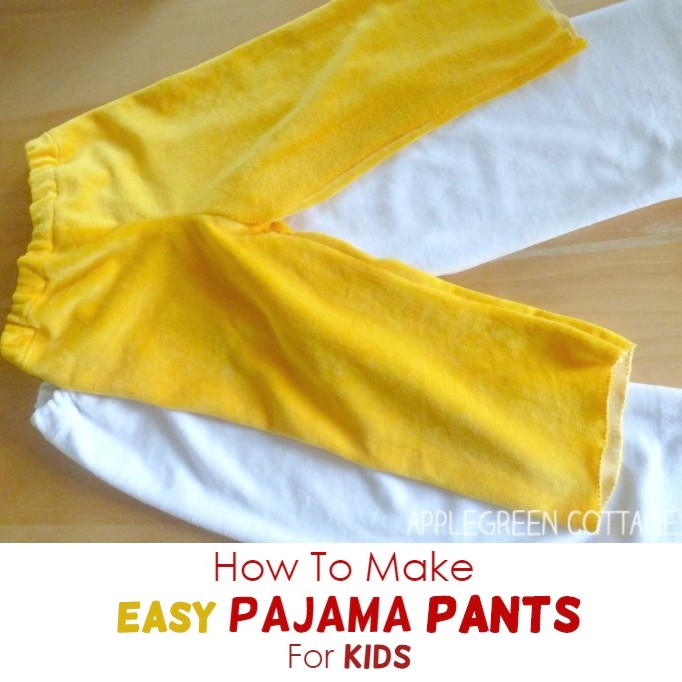
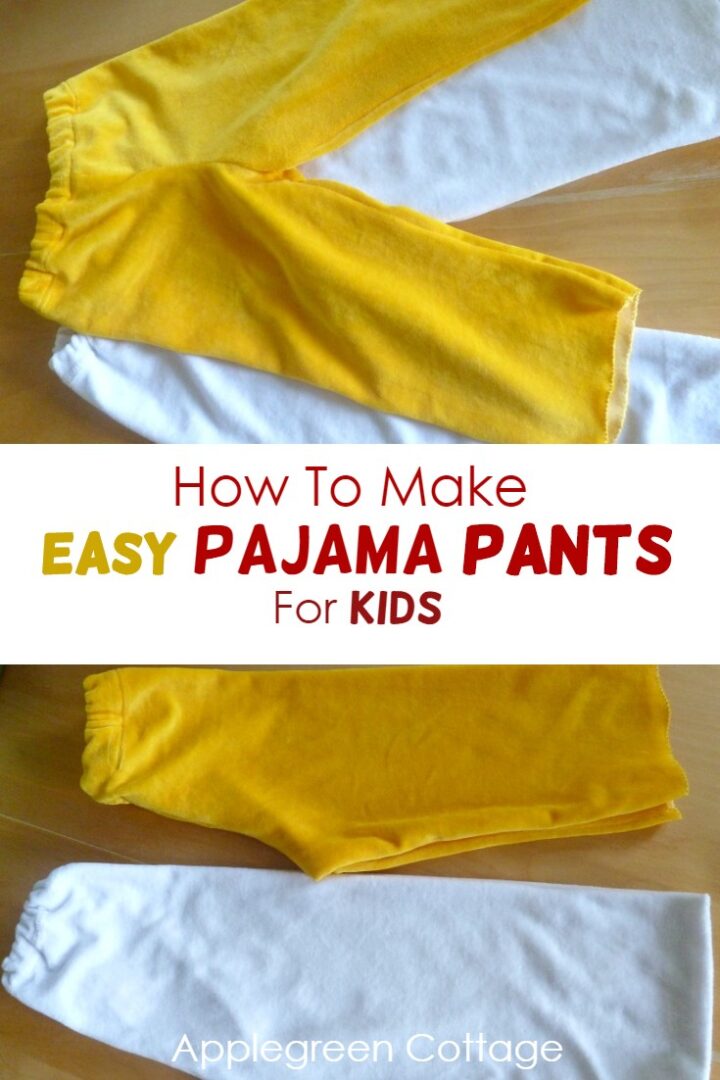
See how to make pajama pants for kids and adults using this easy tutorial for beginners. It's a beginner project with plenty of photos. And - this is what I like best - there is no need for high precision when sewing.
I've also added how to create a pajama pants pattern from your own pajama bottoms. Check it out!
Want the printable PDF tutorial version without scrolling through the post? See the → optional PDF file in our shop. (no pattern)
All in ONE place 💙
Prefer everything ad-free, printable and ready to sew?
Table Of Contents
- Why sew these pajama pants?
- Supplies
- How To Make Pajama Pants Without A Pattern
- How To Make PJ Bottoms Pattern - Trace Pajama Pants
- Sewing pajama pants from pattern - STEPS
- Make a Matching Dribble Bib - Free Pattern!
- Related Ideas
- Want a printable copy of the whole tutorial?
- WANT MORE FREE TUTORIALS AND PATTERNS?
Why sew these pajama pants?
- The pattern and process is wonderfully simple - great for beginners.
- Cutting and sewing go quickly, even with little helpers around.
- They come together fast, which is perfect for busy parents (or last-minute wardrobe needs).
Let's jump in and make a cozy new pair!
Looking for easy sewing projects for kids? Check out this free email guide:
Supplies
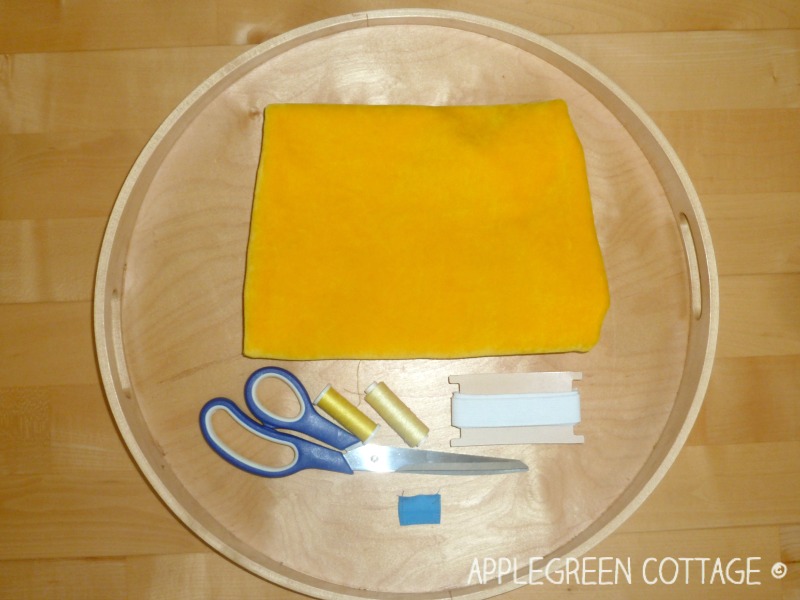
You'll need these suplies to sew pajama bottoms:
- approx. 0.5 yard x 1.5 yard of soft minky fabrics in your favorite color
- sewing machine
- scissors
- sewing thread
- pins
- some elastic for the waistband
- optional: a tiny square piece of fabrics to mark the backside of the pajama pants
How To Make Pajama Pants Without A Pattern
For this tutorial, you won't need a specially tailored pattern for your pajama pants. As they need to be wide and comfortable, you can just use one of the existing toddler's pants to trace them. When I was learning how to make boys pajama pants for the first time, I used my son's favorite sweatpants (wide and comfortable).
In a hurry? I totally get that! You can trace directly onto folded fabric by lining up the straight leg edge with the fold to create a one-piece pattern - just keep in mind you won't have a paper pattern to reuse later.
How To Make PJ Bottoms Pattern - Trace Pajama Pants
If you've got just a bit of time available, you can turn your existing pants into a reusable sewing pattern in minutes. I did this with my own pair, traced it onto scrap paper… and quickly made five more PJs from that one homemade pattern. Such a time-saver!
Here's the simplest way to create your own pajama bottoms pattern step-by-step:
Step 1 - Fold PJ Bottoms in Half and Trace
Fold your pajama pants in half so the front and back crotch curves stack neatly. Smooth out any wrinkles. Place them on a large piece of paper:
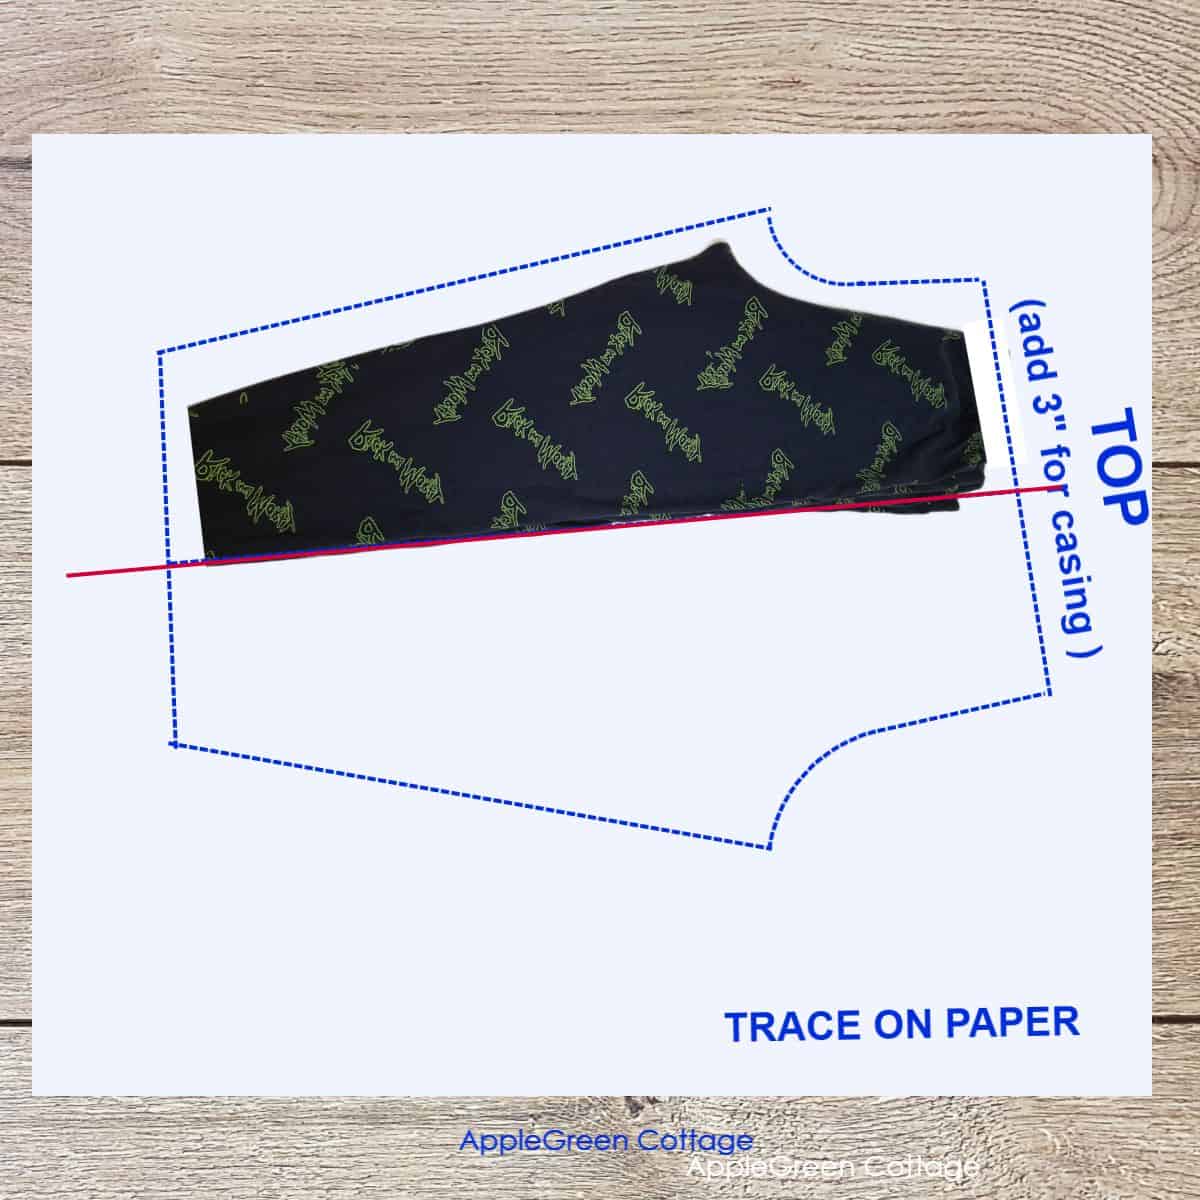
Trace around the pants with a pencil, following the shape loosely:
- Add allowances: about 2-3" around except on the straight leg edge (I marked it with the middle long line in red)
- IMPORTANT: At the top, gently stretch the waistband while tracing so you capture the full width.
- FLIP the pants along the straight leg edge (RED LINE) and trace the other side too. If you refold the pants so the front is visible, you'll notice that the front crotch curve is shorter and slightly shallower than the back. But no need to be very precise!
Step 2 - Cut the traced pattern from paper
Cut out the traced shape. You now have a single-piece pajama pants pattern you can reuse anytime. You've just made your own pajama pants pattern!
I've made both winter and summer pj pants for my kids with this pattern. → How to sew summer pajama pants
Sewing pajama pants from pattern - STEPS
Step 1 - Cut Fabric
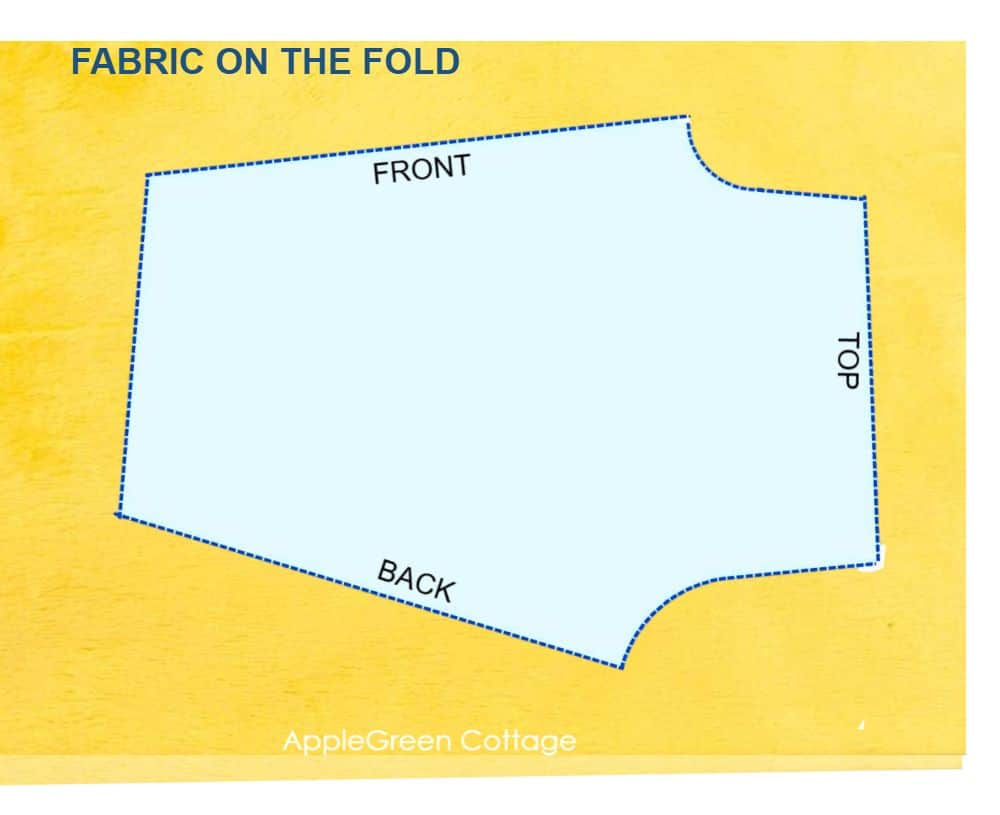
Now, after you've traced a pair of pants, let's get down to cutting.
Fold the fabric in half and place the pattern on both layers.
Cut out two pieces for the pants. You'll get two mirrored pieces in one cutting session.
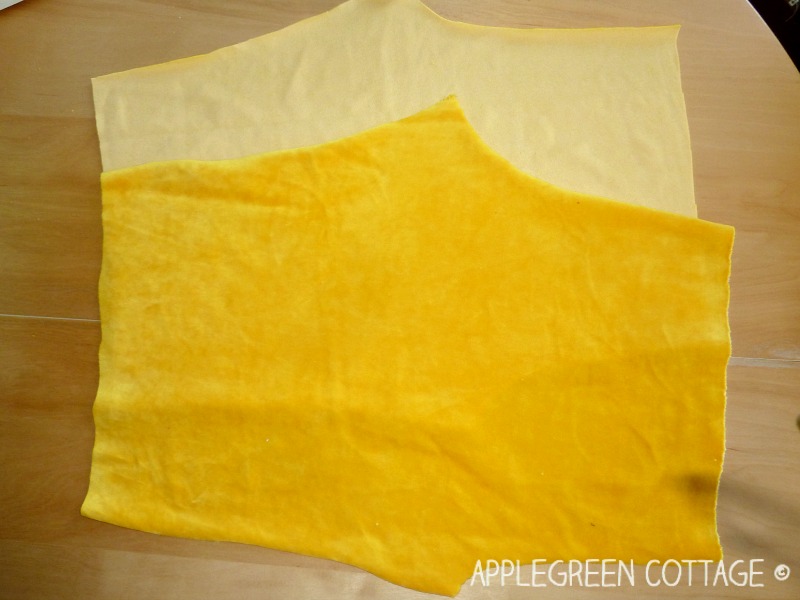
Have you noticed how the legs are nearly as wide as the waist area? Comfortable - no skinny-leg pants here. They will be easy to put on and take off, making it easier for your toddler to learn how to dress all by himself. 🙂
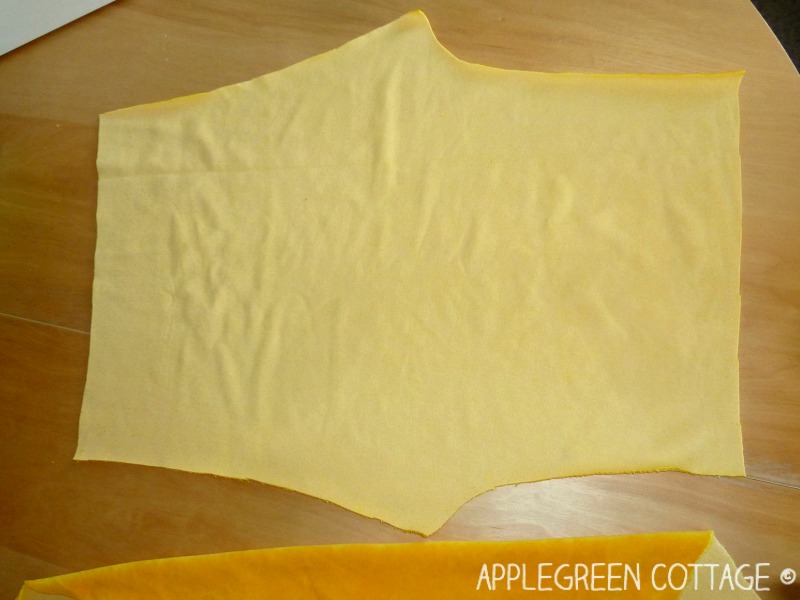
Step 2 - Finish the edges
Finish the edges with a zigzag stitch, all around both pieces.
This is especially important if you're using minky, since it can shed or fray. You don't want to keep cleaning up after every toddler step. Well, I'm exaggerating a little, but you get the point. Do it - no shortcuts here, OK?
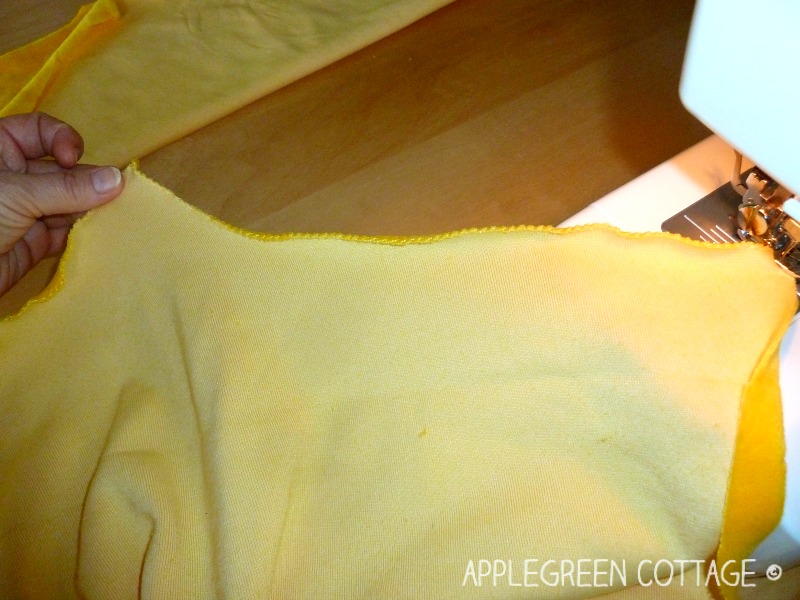
Step 3 - How To Sew The Inseam
Then fold each piece as shown below. You are about to sew the inseam. Make sure the points where the leg starts and ends match.
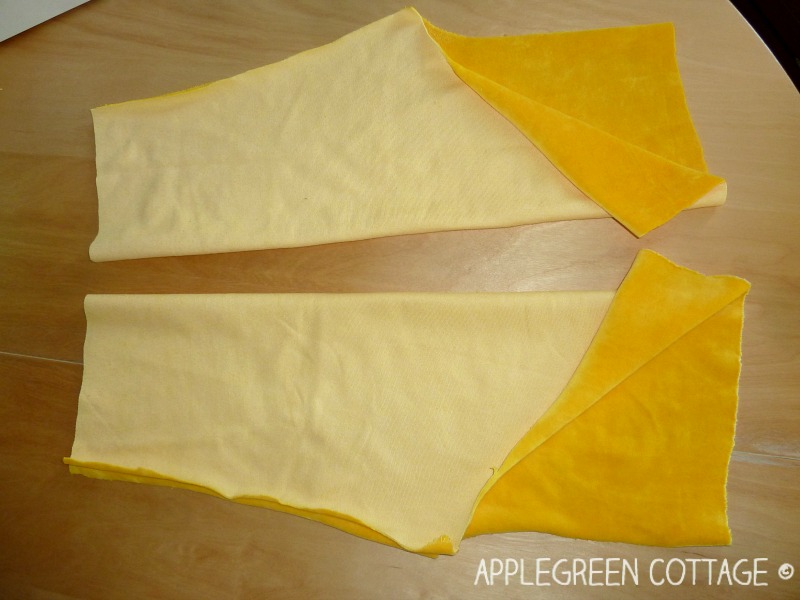
Sew each inseam part and finish the seams.
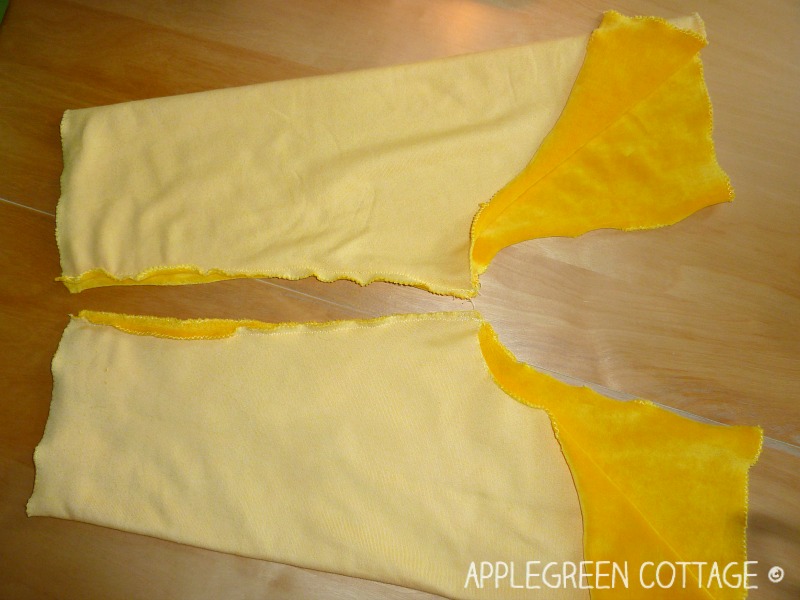
Step 4 - Sew The Crotch Part
Turn one leg the right way out and tuck it into the second part, so that the right sides will face each other. You'll get one 'tunnel'.
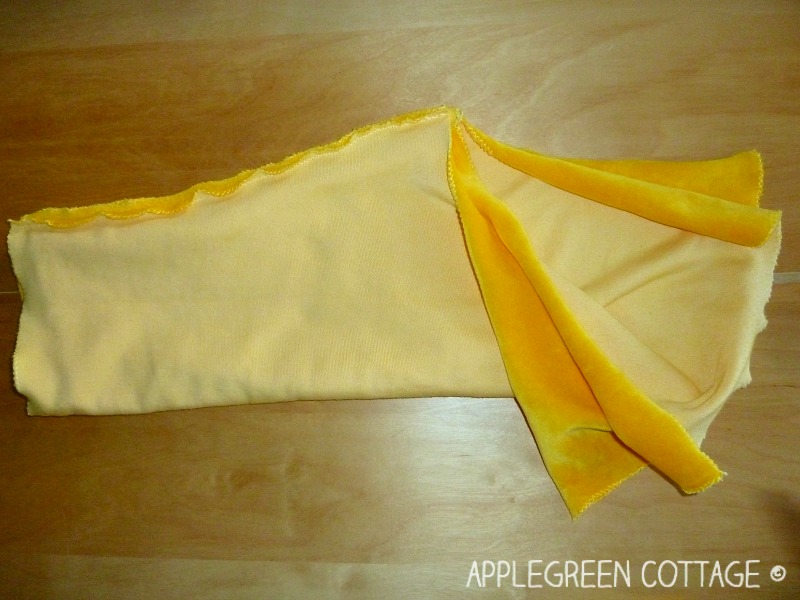
You are about to join the two legs together - sew around the crotch curve from back to front (breaking it up into steps: start on the back waist, then through the back crotch to the front crotch and up to the front waist)
You may first want to pin around it - in this case, take care of matching the edges and the inside leg seams.
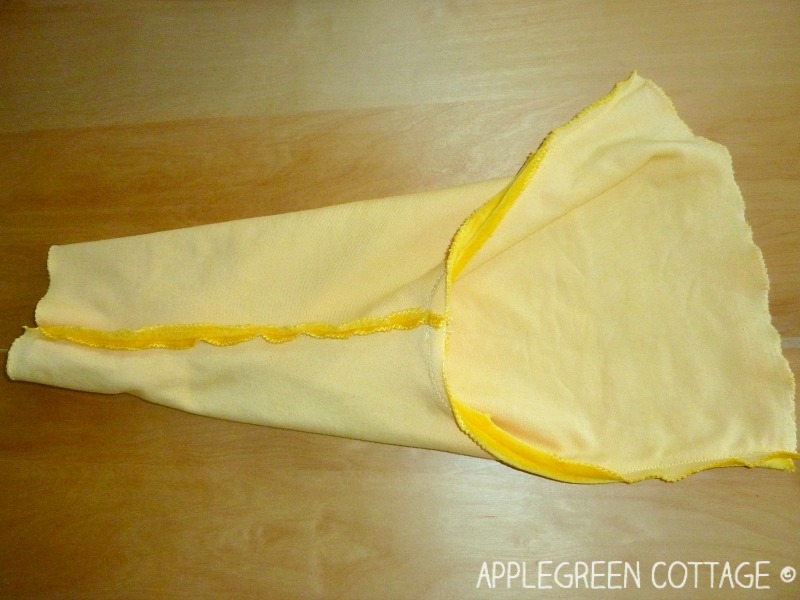
Step 5 - Sew The Pajama Waist
Turn one leg outside in and you'll get this:
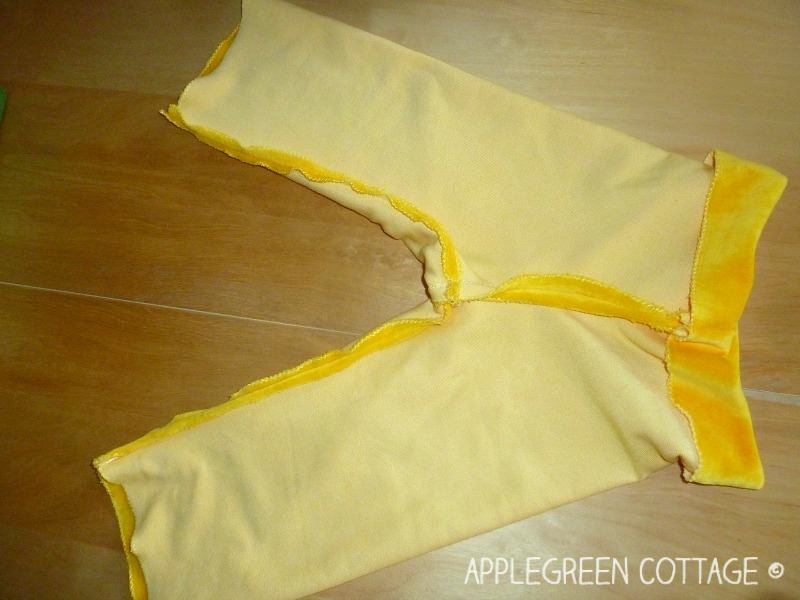
Yeey, pants! Now you still need to hem the waist to make an elastic casing - fold the waist part down and sew around - well, not all the way around. Leave a two-cm opening so you can insert the elastic.
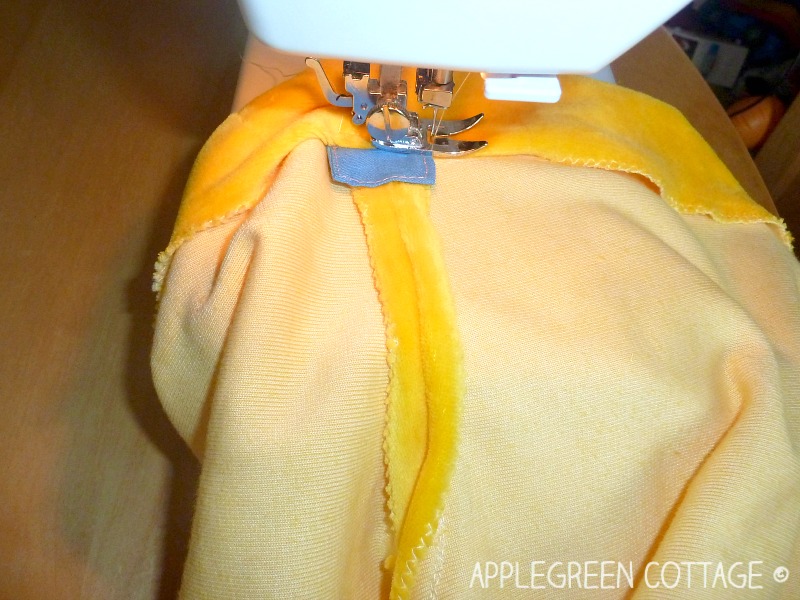
OPTIONAL: add a small rectangle piece of fabric to the back of the waist part, it will make it easier to put on - to recognize what side is back (here: blue) You'll make it easier both for you and your toddler.
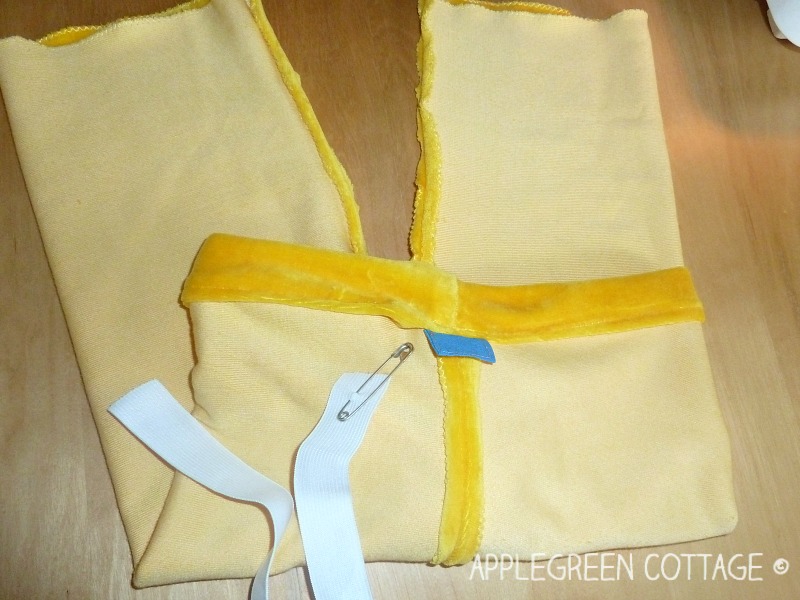
Step 6 - Add Elastic
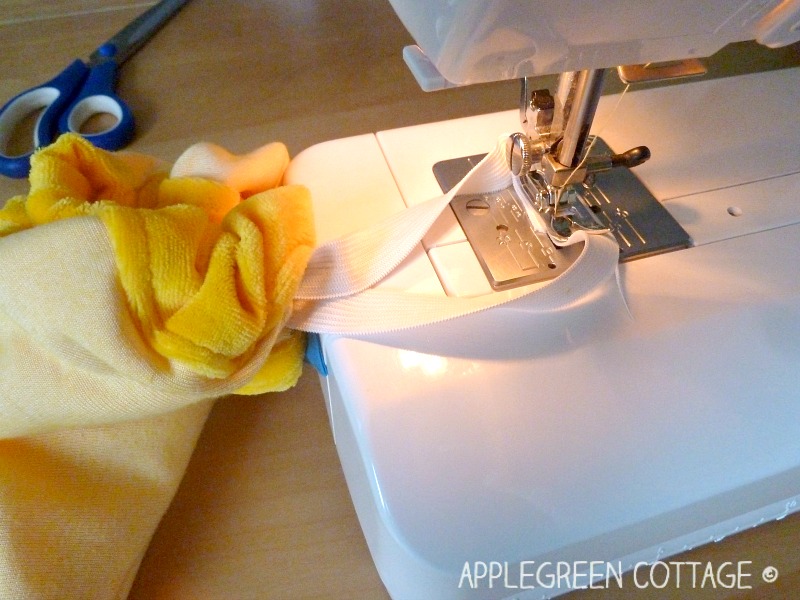
Use a safety pin to guide the elastic through the casing.
When the elastic is inserted, join the two ends together. I usually sew them together, but you can also tie the ends if you prefer.
Aaand DONE!
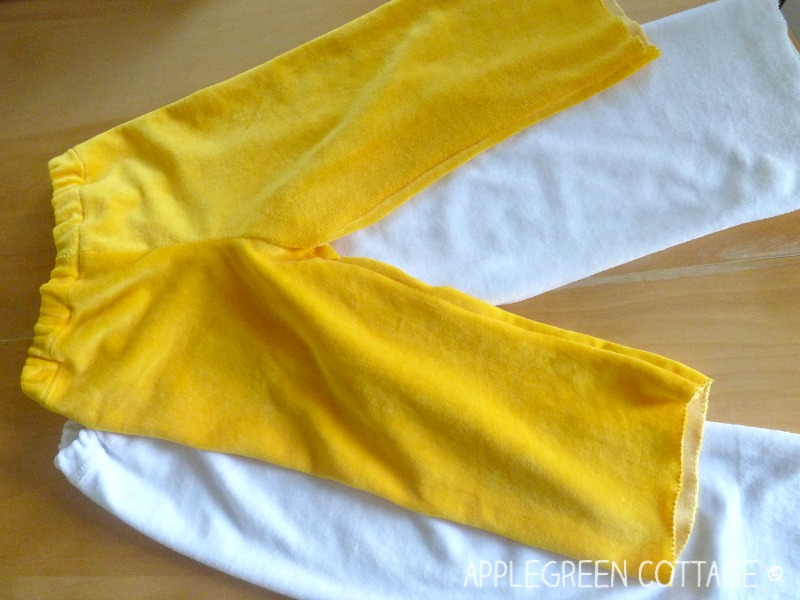
At the moment I'm writing this, my kid has started using the fifth pair of pajama pants that I made using this pattern. You may think I quite like it, and you're right! Now, give it a try yourself and let me know how it went!
Make a Matching Dribble Bib - Free Pattern!
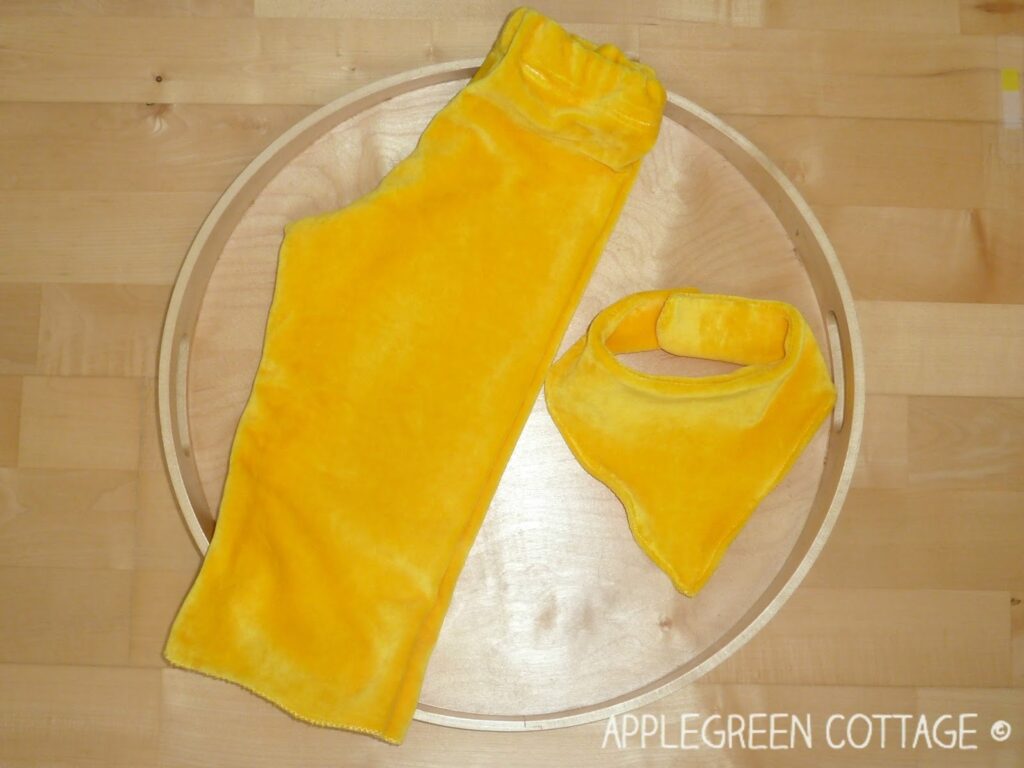
If some fabric scraps are left, you can easily make a matching bandana bib, like I did. You'll find a beginner-level BANDANA BIB TUTORIAL here. (A free pattern included.)
Related Ideas
+1 Freebie: Neck Warmer
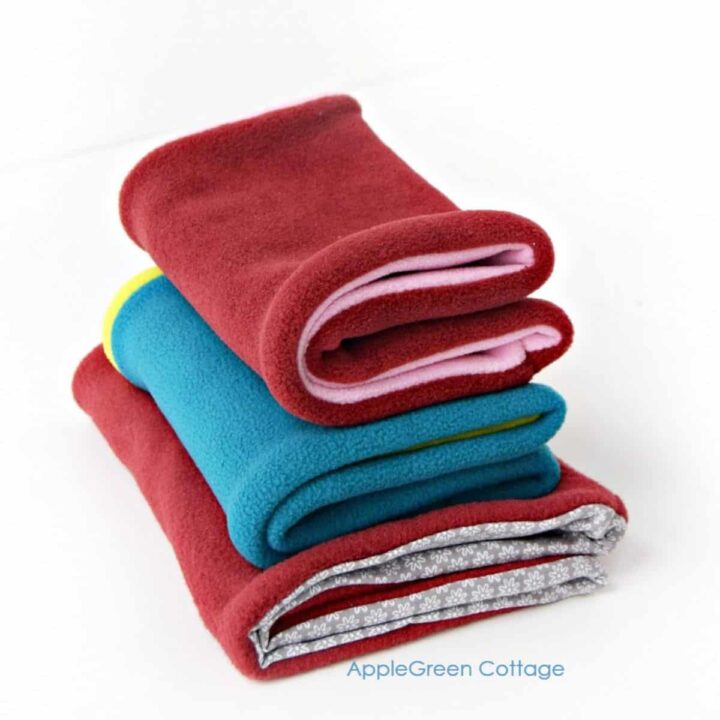
Make a set with our free cowl scarf pattern in 3 sizes:
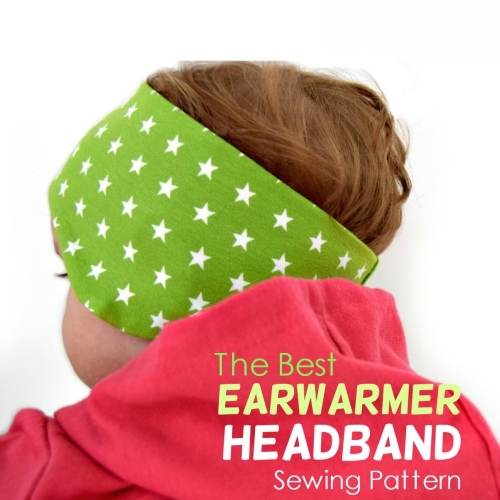
Or …check out the Earwarmer Headband pattern in 8 Sizes in our shop:
Want a printable copy of the whole tutorial?
Prefer a full, ad-free and printer-optimized Printable Tutorial with both instructions AND images included? No pattern. ↓↓
WANT MORE FREE TUTORIALS AND PATTERNS?
Get email updates and never miss out on new patterns, printables, and tutorials:
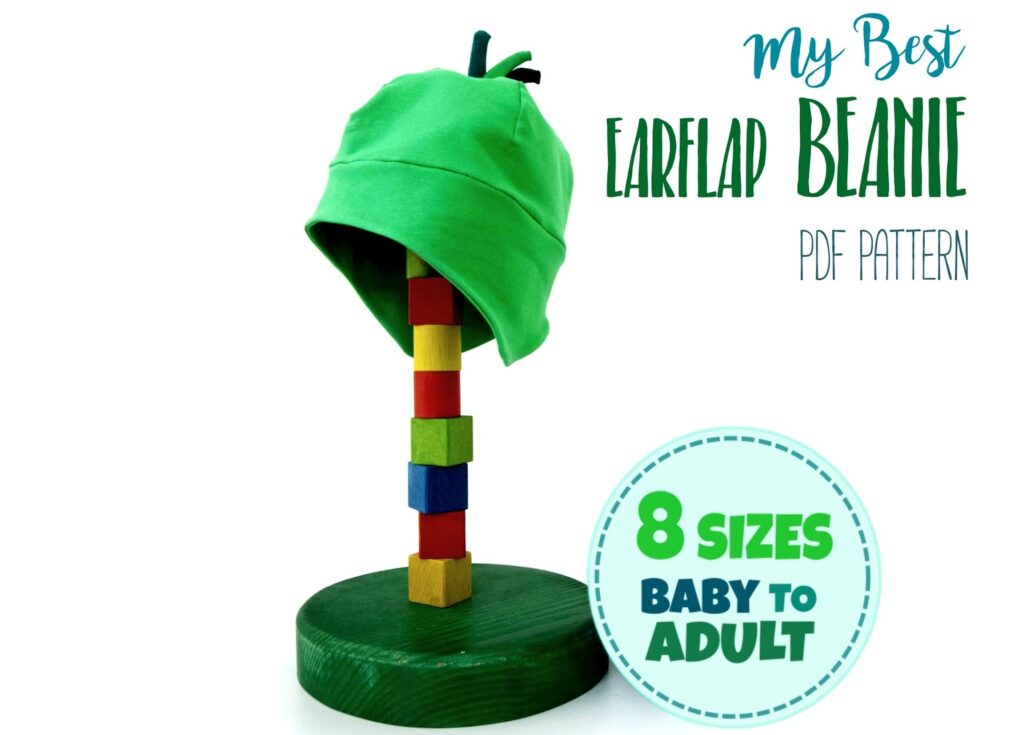
Also, check out this cute earflap beanie pattern in our shop:
Less searching. More sewing.
Keep 100+ printable AGC tutorials ready to print, save, and sew anytime.
Pam @Threading My Way says
I always add something at the back to show kids which way to put them on. As always, Damjana, an easy to follow tutorial.
Damjana at AppleGreen Cottage says
Thank you, Pam 🙂
Krista R says
I've only ever sewn simple projects, pillows, curtains... not clothes. But these look easy enough I think I'll try it, my son has a pair he loves that are rapidly wearing out, hopefully I can replicate them!
Damjana at AppleGreen Cottage says
Krista, yes, please do try it out! This is how I started out too, from simple projects to clothes. Once you start, you won't want to stop, as it is much easier than you thought in the first place. Happy sewing, Krista! Damjana
Barbra says
Thank you ever so much for sharing this tutorial with so many step by step instructional pictures. Your photos will also assist me in making my own pants (which I have done a few times) because your photos totally demonstrate how to put the pant pieces together (this is where I often fail, getting all mixed up -- picking out stitches often -- the purchased pattern instructions to make pants -- at least for me -- are so confusing). Truly, thank you endlessly. Merry Christmas