
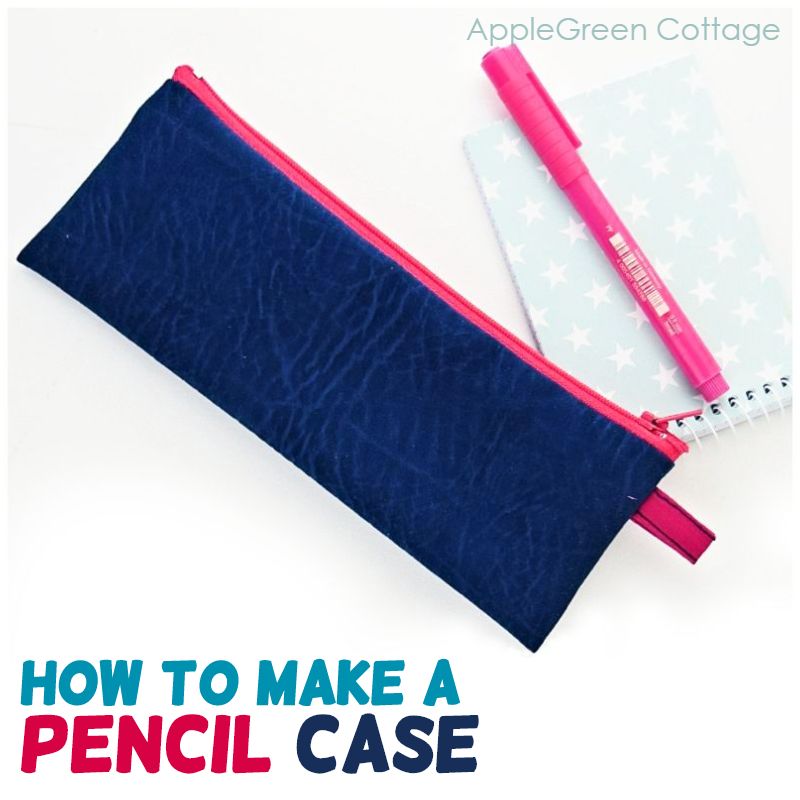
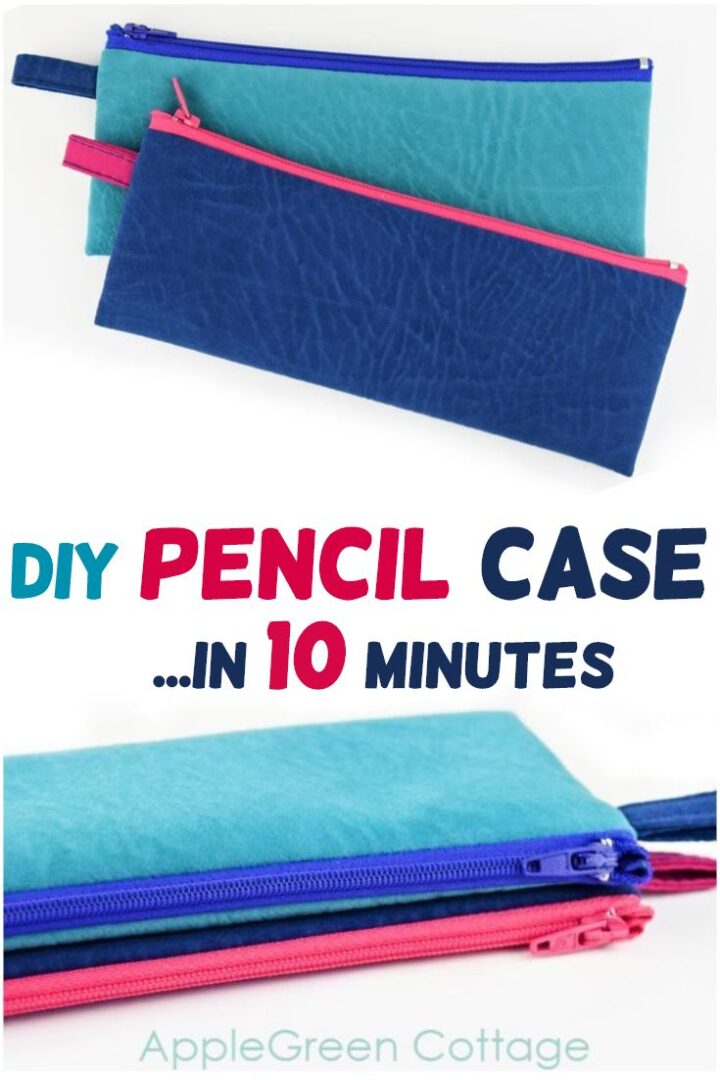
Sew a cute diy pencil case using this super easy tutorial. Who couldn't use a fun pencil case?! Fill it with a few cute sharpies or pencils, and you've got a great diy back-to-school gift! See how to make one in 10 minutes - or less!
Prefer an ad-free printer-friendly option of the whole tutorial? See the → optional PDF file in our shop.
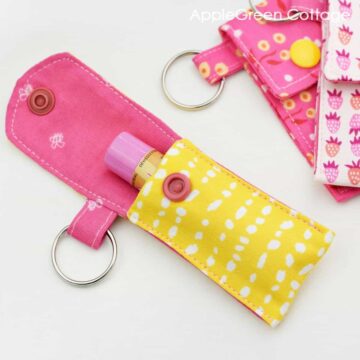
Or make this popular bucket hat pattern - 5 sizes, for everyone in the family:
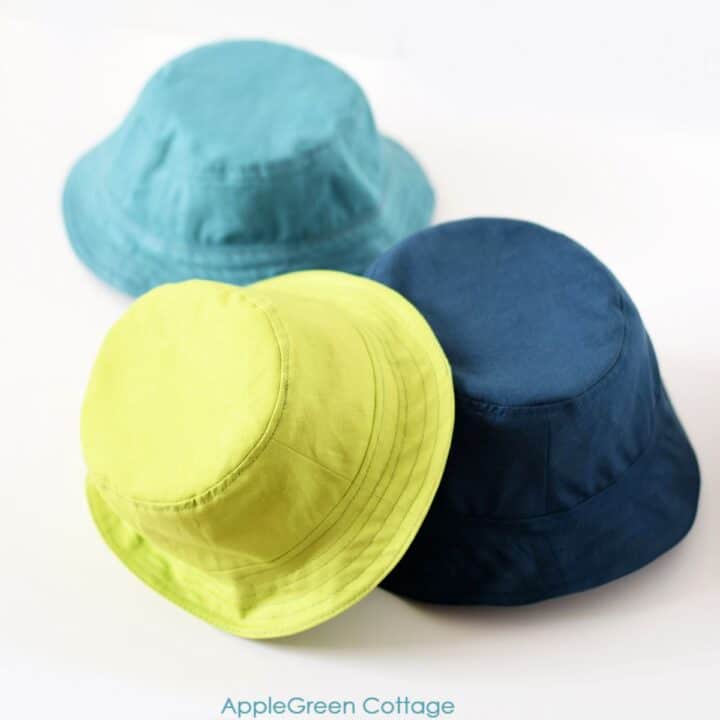
+ FREE Bucket Hat Pattern
With the new school year nearly here, I am making a few easy pencil cases. More than easy. I'll show you how to make the QUICKEST, SIMPLEST pencil case I've ever sewn. One you can whip up in minutes, and are cute, practical and make a great back-to-school gift. How cool is that!
Diy Pencil Case

Simple, slim, and stylish. A great diy gift for so many occasions! Think teenagers, back to college, teachers, office workers, someone who likes cute things (me! you!), in short, nearly everyone.
I love making a matching pencil case when sewing a diy backpack (ideas? this one!) A great gift set for teenagers too!
The finished size of this unlined zipper pouch is 8 ½" by 3 ½" (21 x 9 cm)
Diy Pencil Case Tutorial
This is an unlined zipper pouch. It should take you less than 10 minutes once you've selected your fabric. Let's do it! Let's get our sewing machines ready for a few stitching lines.

This tutorial is also part of Printable Tutorials BUNDLE
90+ PDF tutorials now, and growing!

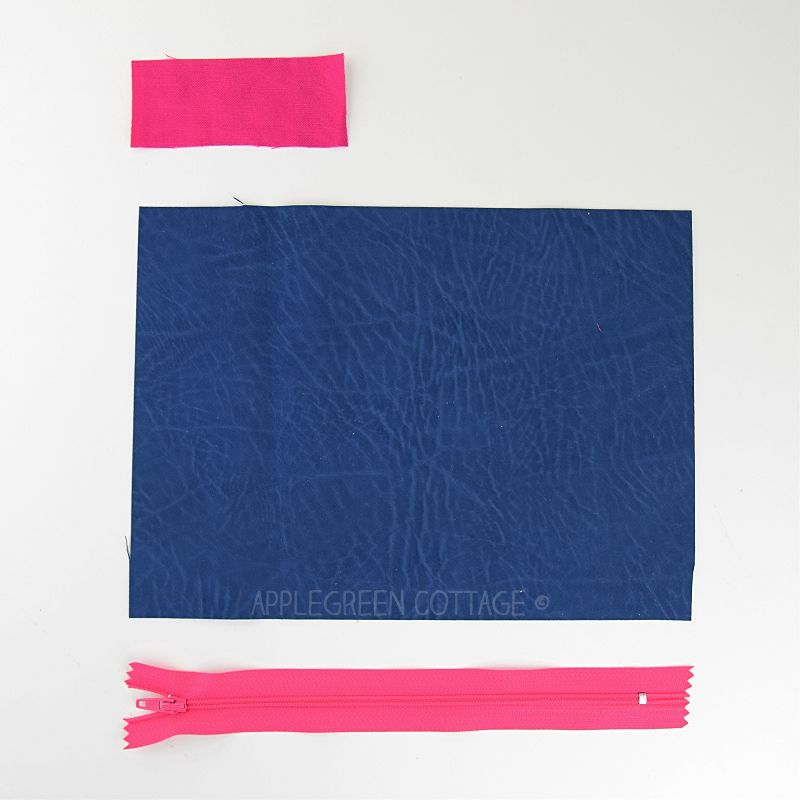
Supplies
This is what you'll need:
- a 7" by 9" (18 x 23cm) piece of medium to heavy-weight material (preferably non-fraying), see below
- optional: a 3 ½" by 1 ½" scrap piece for pull tab (9 x 4cm)
- a standard 8" (20cm) nylon-coil zipper size #3
- matching thread, sewing machine, scissors and sewing clips
Shop my personal favorite sewing supplies on Amazon HERE.
MATERIAL RECOMMENDATIONS
I used this microsuede upholstery fabric, it has a very smooth suede surface and is perfect for upholstery. Instead of redoing my chairs, I've been sewing these zipper wallets and these bags from it. It's a perfect, soft-to-the-touch, easy cleaning material that's way easier to sew with than faux leather or vinyl! (And now you know my little secret, lol!) But basically,
- anything that's heavier than quilting cotton.
- Ideal case, also something that won't fray if the edges are left unfinished. (non-fraying upholstery fabric or faux leather)
- if it frays, say, if you use denim or home-decor fabric, just zigzag around the main piece first.

My Top 7 TIPS!
Diy Pencil Case - Sewing Steps
You won't need a pencil case pattern, just these cutting instructions:
Step 1 - Cut 2 Rectangles
Cut two rectangles: one 7" by 9" (18 x 23cm) and the other 3 ½" by 1 ½" (9 x 4cm). The length of the large piece should be equal to the total length of your zipper (incl. zipper tape). NOTE: If your material frays, run a zigzag stitch all around the larger piece.
Step 2 - Add Zipper To one Side
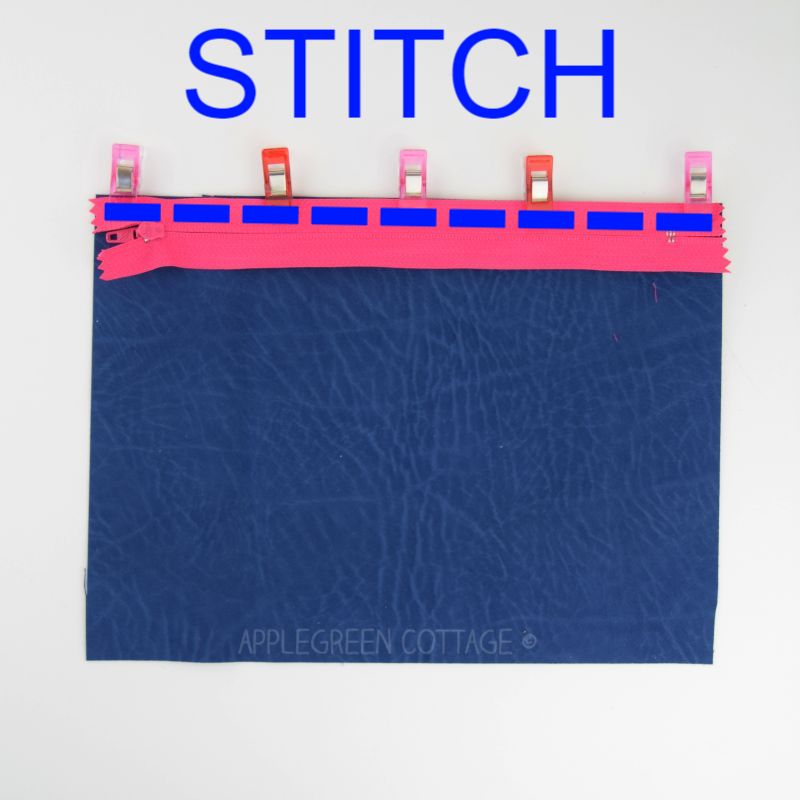
How to sew a zipper: Place your main piece right-side-up and place the zipper right-side-down, along the top long edge. Attach sewing clips to hold in place and stitch.
Flip the sewn zipper right-side-up.
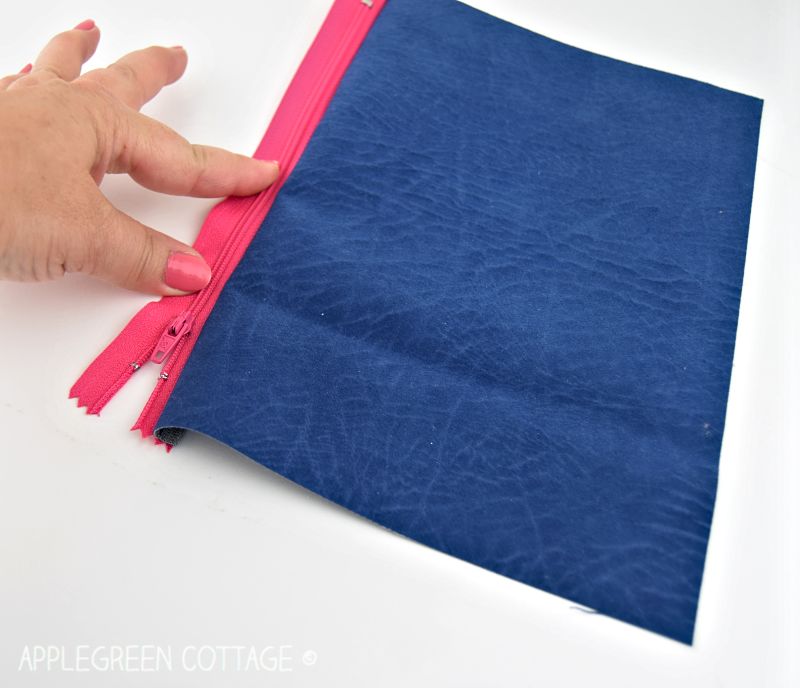
Step 3 - Attach zipper to the other side of the diy pencil pouch
Place the other zipper edge along the remaining long fabric edge, so they are right-sides-together again. Then, stitch along the zipper tape:

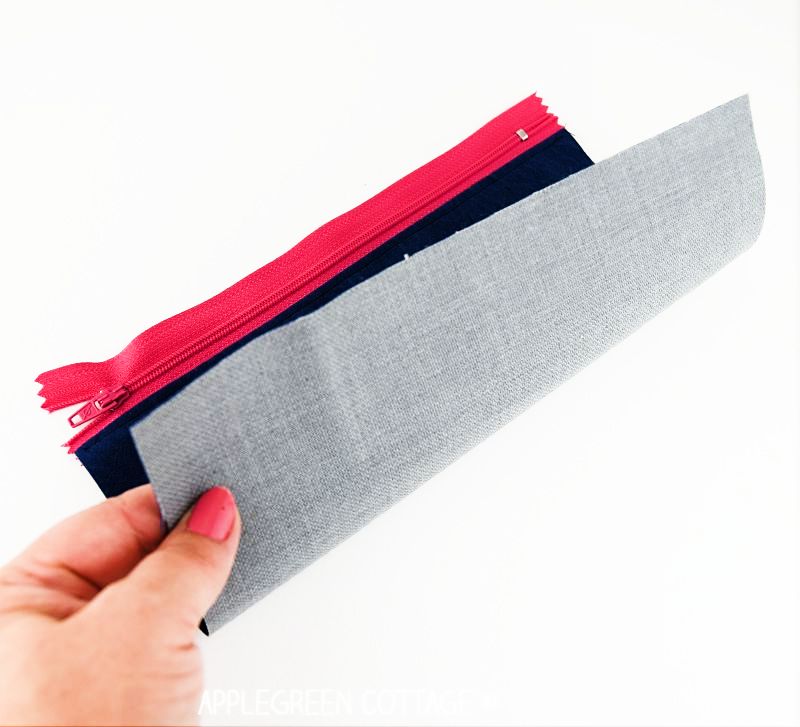
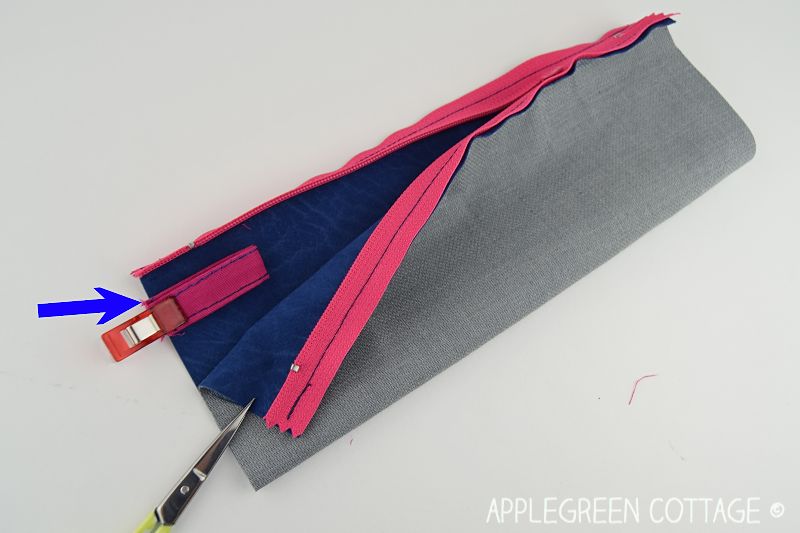
Step 4 - Open the zipper

What you'll get a tube-like structure, make sure to unzip it at least half-way. Very important!
Step 5 - How To Add A Pull
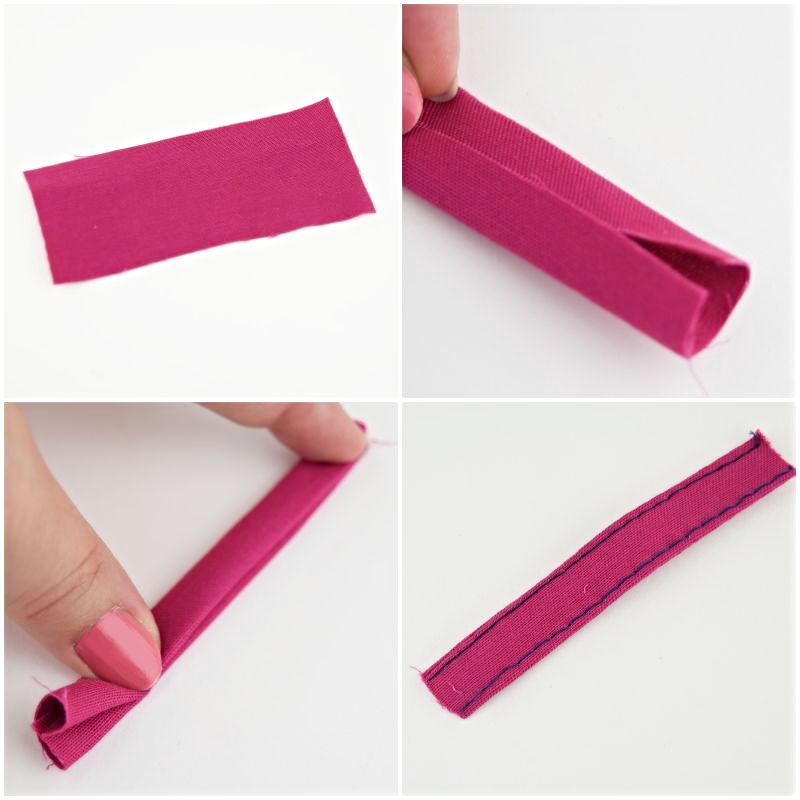
Now, make the (optional) pull tab. Fold the two long edges of the small piece towards the right side, and then fold again along the center. Then topstitch along each edge - see the photos below.
Fold the pull tab in half and slide it between the right sides of the main piece, half an inch or so below the zipper line. NOTE: the loop should face inwards.
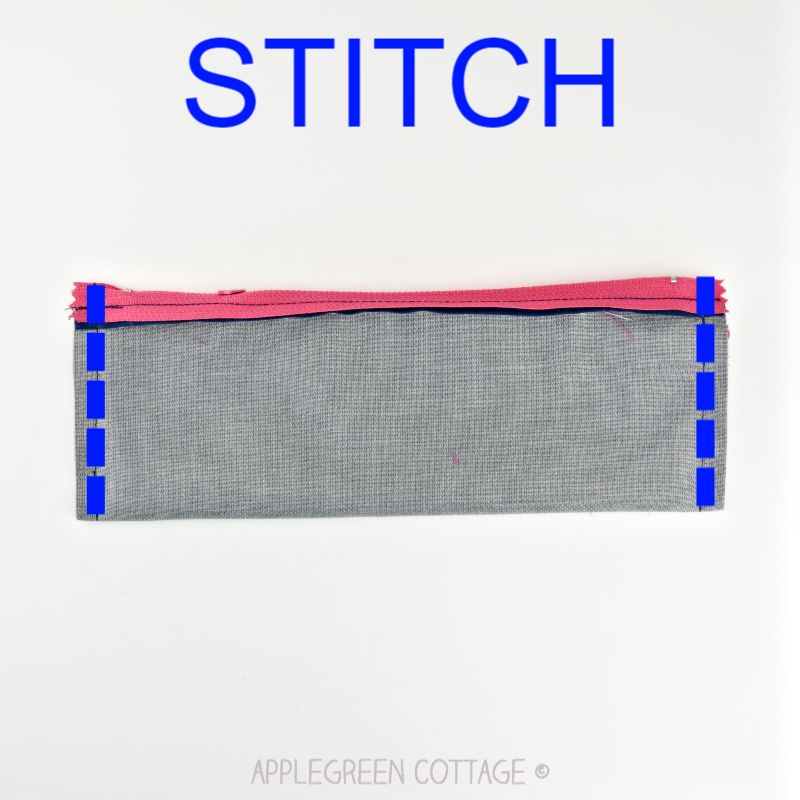
Step 6 - Sew The Sides
Fold the sides so the zipper is on top. You've only got two stitching lines to do on each side, but first, see the detail below: to avoid pinched zipper ends, pin the zipper tape so it is facing AWAY from the fabric. Like this:
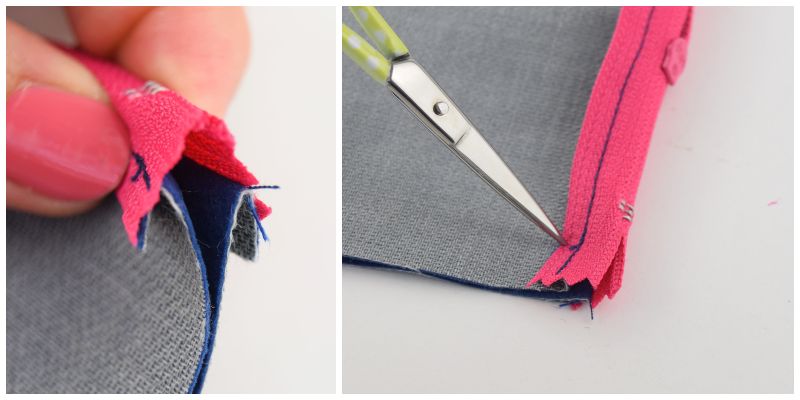
Stitch the sides closed, securing the stitches at beginning and end. (I usually backstitch, just a little)
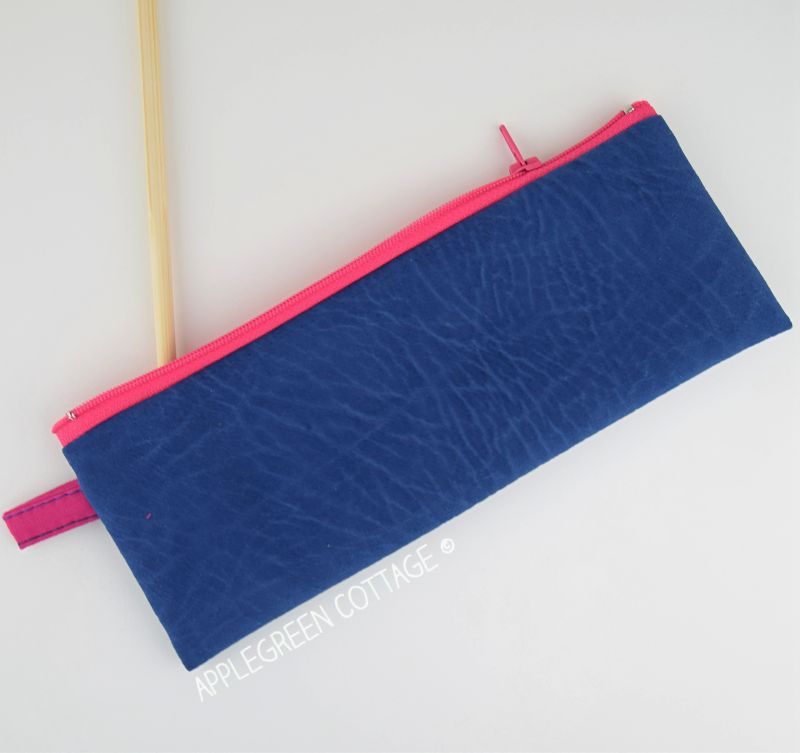
Step 7 - Turn and use!
Turn right-side-out through the half-way open zipper. To push the corners out, you can use a knitting needle or a chopstick. Done!
Now, that was easy, wasn't it! You've made a cute slim pencil pouch, and now you can sew up a few more as back-to-school gifts, or teacher appreciation gifts. Or, if you're like me and fall in love with every little zipper pouch you spot, make tons of them so you get to keep at least a few to yourself! Or sew up this popular free hat pattern - 5 sizes, for all ages:
+ FREE Bucket Hat Pattern
This is a great scrap buster project. These slim and stylish diy pencil cases can be used for everything! It will fit a few pens, or a small pack of tissues plus lipgloss and a key, you can even make a set of them, connect them using a keyholder ring and fill them with little toys and games for the next road trip with kids.
Related Ideas


If you like this pencil case tutorial, check out these other posts too:
- this COOL dice bag pattern - and it's FREE
- 20+ Super Easy Sewing Projects
- 7 Easy Crafts To Make And Sell
- 10+ Cool Gifts For Kids You Can Sew
If you liked this tutorial, make sure to check out 20 more back to school projects I've got for you here on the blog. And 9 of them are brand new sewing tutorials and free patterns, posted on the same day as these diy pencil cases, all by my friends, fellow sewing bloggers - we've decided to make your back-to-school fun and easy!
Want MORE Free Patterns?
Get email updates and never miss out on new patterns, printables, and tutorials:
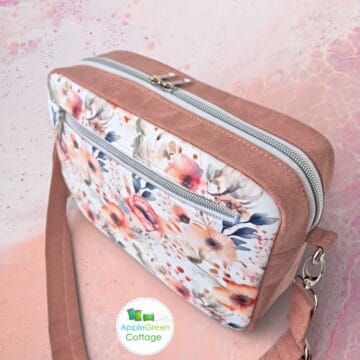
Or …check out the NEA Small Crossbody Bag pattern in our shop. This bag skyrocketed to the top of our best-sellers in less than a week after it was released:


Patricia Telfer says
Fun project. I put iron on name labels inside . I made 65 for a needy school and am now on a mission to make a few hundred for a back pack program for those in need. Great way to use up scraps and small yardage. With crumb quilted pcs. I will give them to the wee ones to learn their colours. Maybe strip pcs too.
Jill C says
This pencil case came together so quickly. I was in a pinch for a birthday present and thought I would give your pattern a try. It is so cute. I'll definitely be making more.
Sarah says
Absolutely no experience on sewing machine and this was my first project. Very straight forward. Looking forward to making more
vicky myers says
I am loving the microsuede fabric, i've never sewn with it - time to treat myself I think!!
Damjana says
Vicky,
you're right! And you'll love it!
xoxo,
Jen says
So I mashed your zipper pouch (the one with the middle zipper for sewing clips) and the pencil case and added FOE to the back for a pencil case that can go on a notebook! I love ALL your patterns. And I'm addicted to the French seam, which I used here. Thank you, Damjana!!