
See how to sew mitered corners on all your projects and get rid of the bulk - the easy way!
Are your corners lumpy and distorted from the bulky folds of fabric? This is your chance to get rid of bulky corners on your sewing projects!
This post includes affiliate links. Thanks for your support. If you like easy sewing, visit the learn-to-sew page here at AppleGreen Cottage. (You know how much I love simple and easy in sewing, right?) Also, check out these home sewing projects, or the home decor sewing projects in our shop - tons of sewing inspiration!
How To Sew Mitered Corners
Here's how I sew mitered corners on placemats, cloth napkins, and a number of other sewing projects that require a double hem fold and where those folds meet. For this mitered corner sewing tutorial, I chose a ⅜" (1 cm) folded edge, but you can choose whatever seam allowance you need.
Sewing Mitered Corners - Steps
Usually, when making mitered corners, you'd need to fold all sides twice, press, and then unfold them, then mark and cut, and then refold and press again. Too much? Let's make this easier - and quicker!
Step 1 - Cut fabric For Your project
Cut the square or rectangle required for the project you are sewing. I chose to cut an 18-inch square, I'm making a cloth napkin. It can be a rectangle, any size you need for the project.
Step 2 - Mark The Corners
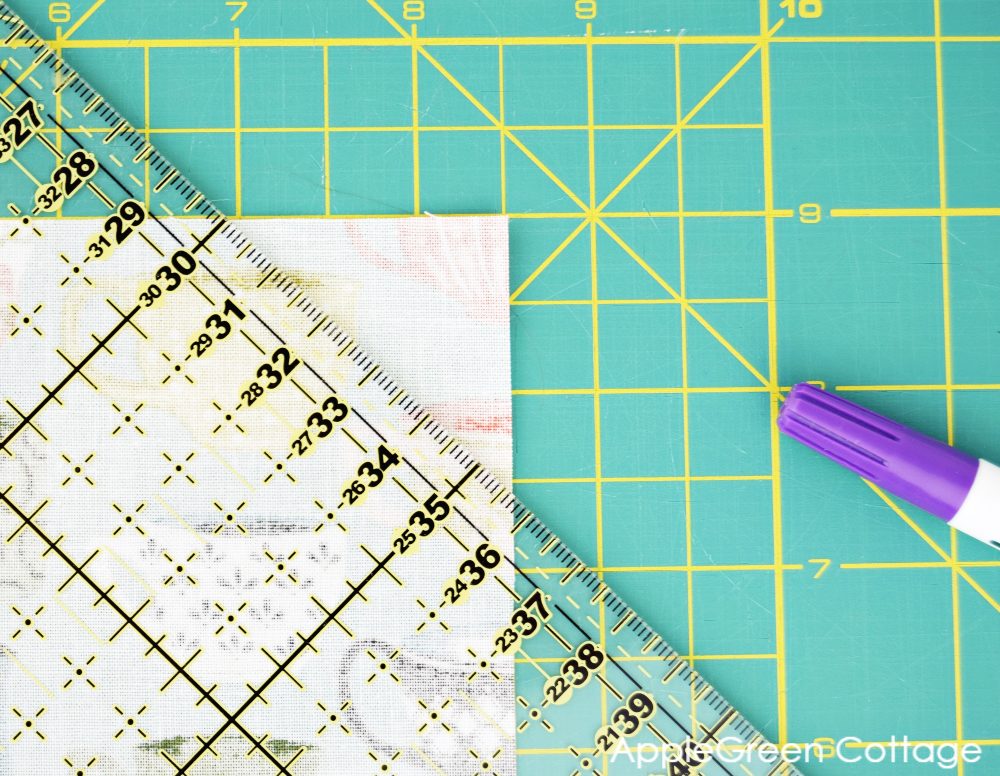
First, let's fold all 4 corners towards the backside of your fabric piece: mark all your corners on the backside at 1 ½". If, however, you plan a smaller fold, that is ¼" (6 mm), then you should mark your triangle at 1" (2,5 cm).
Step 3 - FOLD BACK THE CORNERS
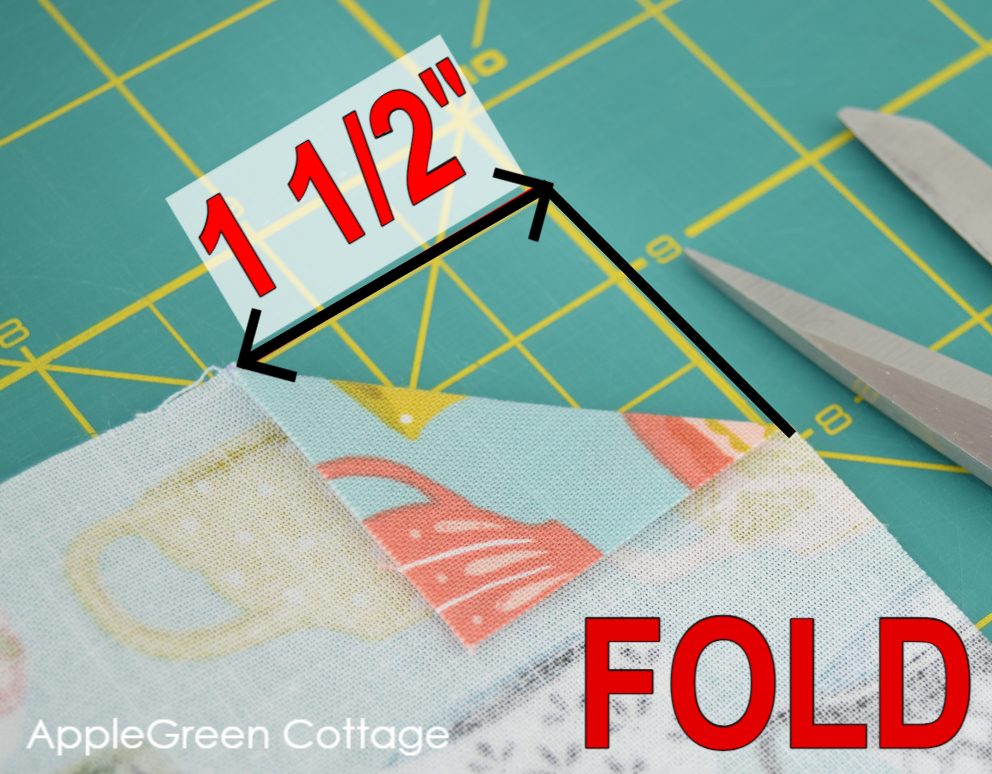
Fold the corners towards the backside and press.
If you plan to fold the raw edge twice by ⅜", then you need to measure 1 ½" from the corner of your fabric and mark and fold at that spot. See the photo above. If, however, you plan a smaller fold, that is ¼" (6 mm), then you should fold your triangle at 1" (2,5 cm).
Press the triangles well so they stay flat.
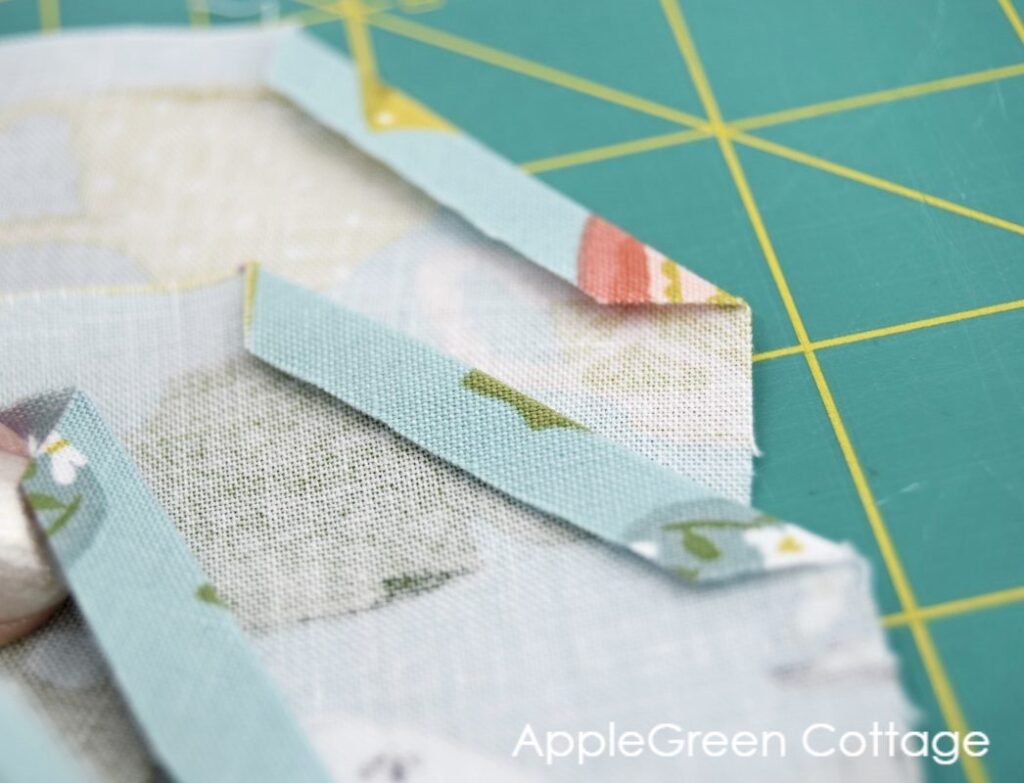
Step 4 - Cut off A Portion of the triangle
Then cut off just a portion of that triangle, leaving you with a nice small seam allowance - something between ¼" and ⅜". With our ⅜" fold, this will mean cutting off just a tiny 1-inch triangle from that folded part. This:
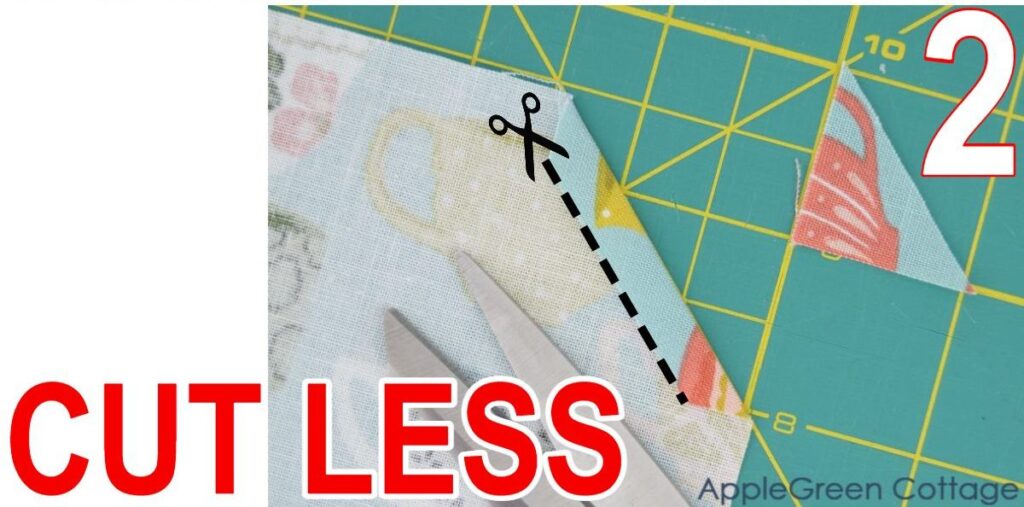
This way, you'll get a small, (just a little more than ¼") fold - no measuring, just leave a little fabric folded.
Repeat this on the remaining 3 corners:
Step 5 - Double-fold Edges
So this is what we'll do here: fold back and press ⅜" (1cm) of the edge of your fabric once and then again ⅜". I marked the folds using my fabric marker for you to see how, but you don't need to mark anything. Repeat on all 4 edges.
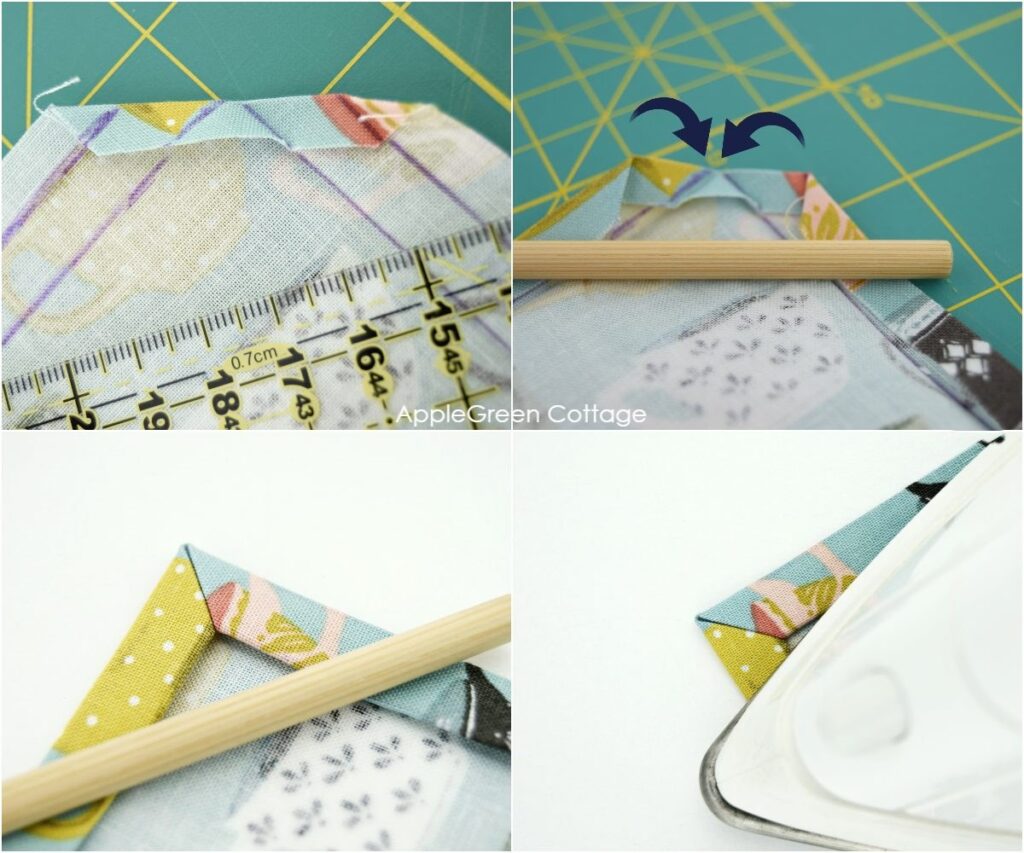
Once you've pressed the folds, you can (but don't HAVE to) pin or clip the corners. You don't need to if you've pressed well.
Step 6 - Topstitch Around the folded mitred corners
Using a long stitch (I used length 4), topstitch around from the backside of your project. This means that the bobbin thread will end up on the top side - use a pretty, matching bobbin thread color!
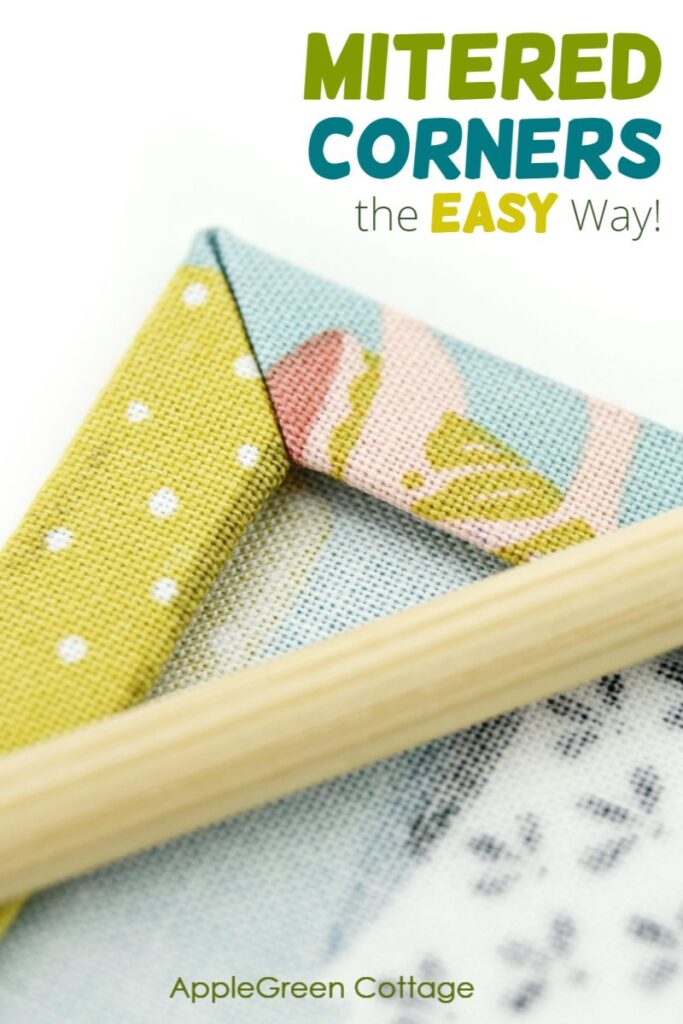
Starting before one of the corners, stitch along the fold just catching the fold. Sew slowly and you can use an awl or a different pointy tool to help you guide the fabric:
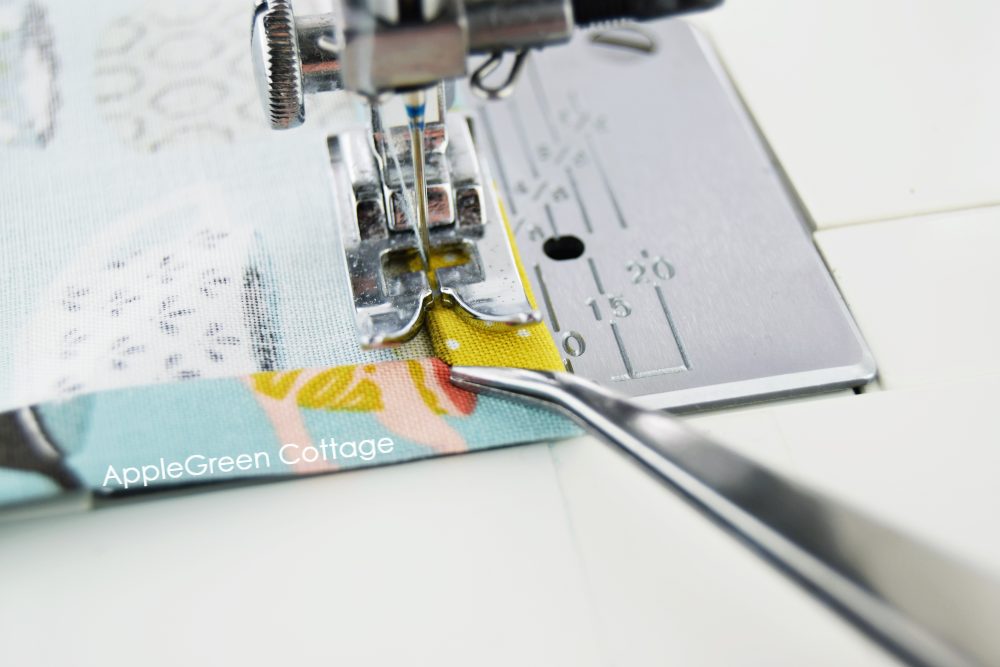
Once you get to the corner, stop with the needle down and pivot, making sure to catch the folded edge. Here's a closeup, I took a photo with the sewing foot lifted so it's easier to see:

This is just a photo to show that you need to sew around the entire fabric piece.
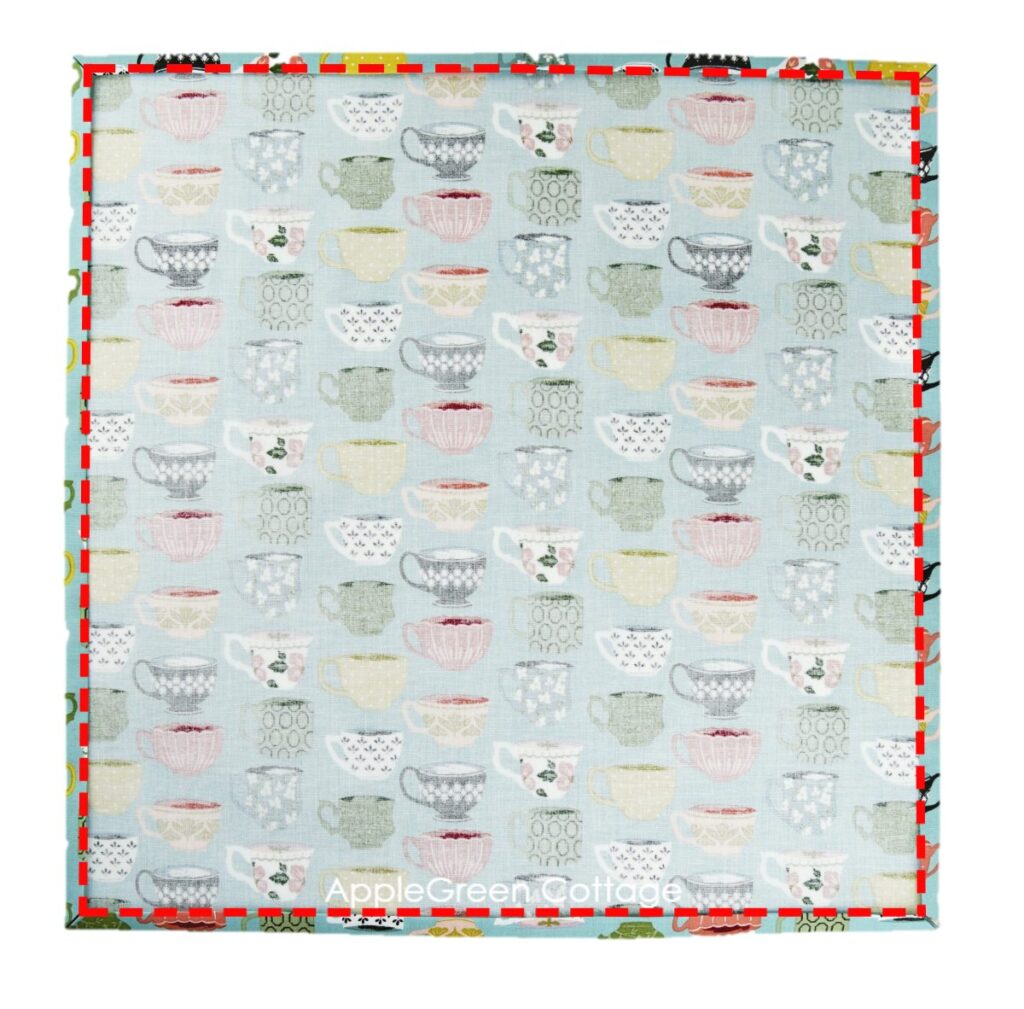
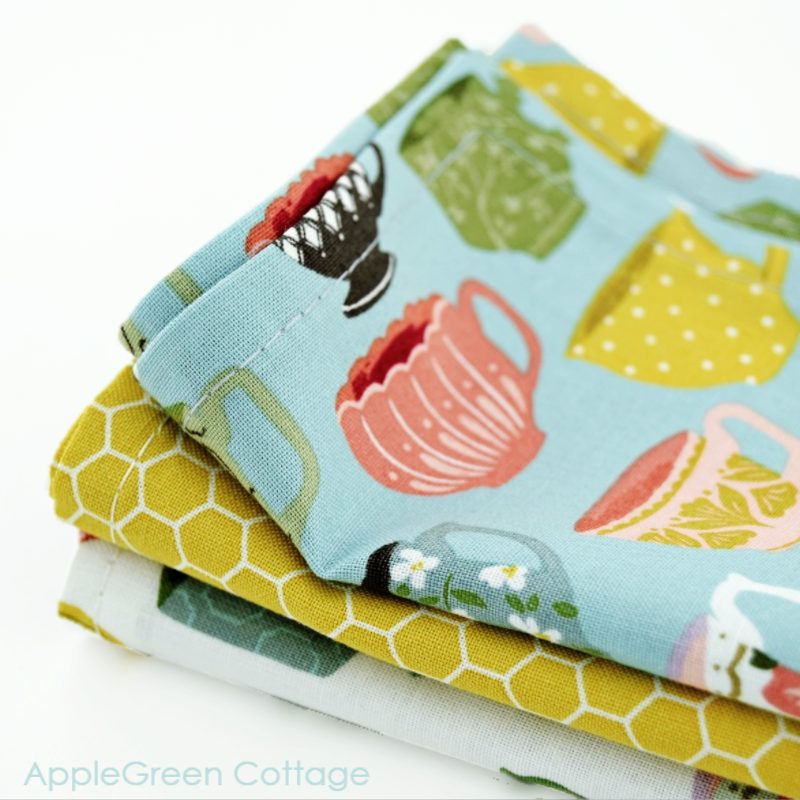
And this is your finished project - beautiful mitered corners with no bulk. congrats!
If you enjoyed this tutorial, share it, like it or tell your friends about it. Or save the project to Pinterest so you can use the tutorial any time you feel like:
WANT MORE FREE TUTORIALS AND PATTERNS?
Get email updates and never miss out on new patterns, printables, and tutorials:


Morgan J Brittingham says
Thanks for this! A great resource for my sustainable sewing community!
Jitka West says
THANK YOU! I have fabric ready to go and can't wait to try this technique..