
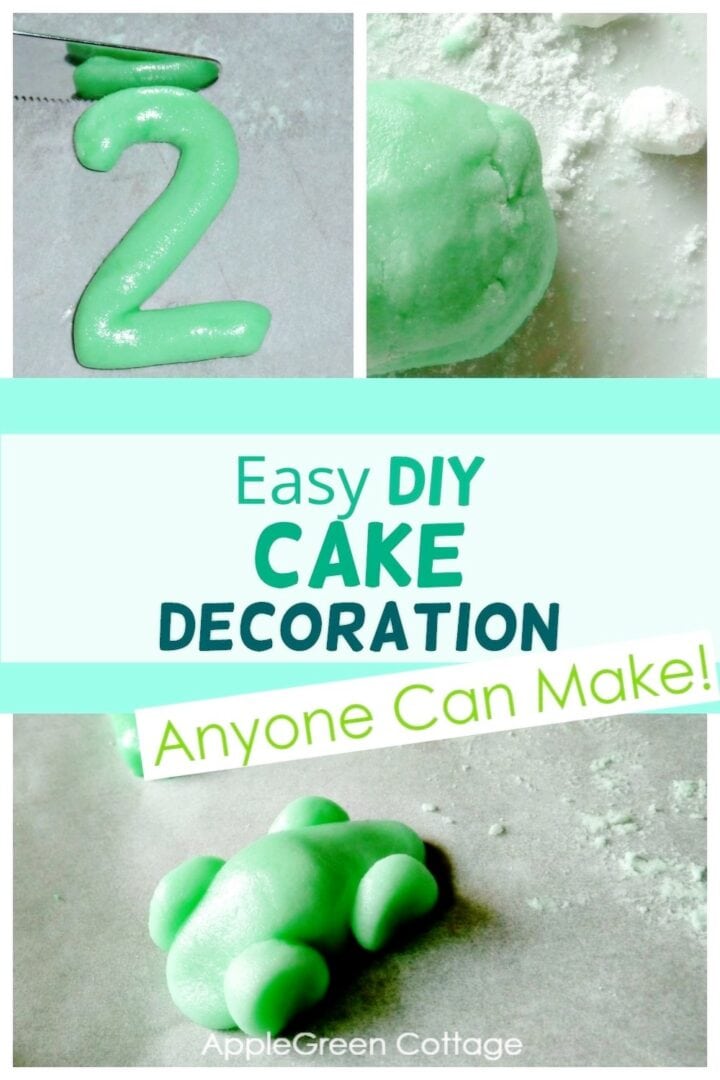
Design your own cute and easy diy cake decorations using homemade gum paste that's made without tylose. Really, so simple! Get the 3-ingredient recipe and you'll be surprised how easy it is to design your own cake decorations.

This is how we created all our birthday cake decorations in our family when I was little. It was so much fun, designing your own flowers, cars, toys, mushroom decorations, anything you can imagine!
Gum paste (also called florist paste) is similar to royal icing, but no cooking is required. Similar to sugar paste, but ...better 🙂 It's ideal for making cake decorations. Especially if are stubborn enough to WANT a certain cake decoration your way. This gum paste recipe leaves all creativity in your hands!

How to Make Homemade Gum paste Without Tylose
I am posting this simple homemade gum paste recipe my mom has taught me ages ago. It's so convenient, as it only uses ingredients you usually already have in your pantry. Easy peasy!
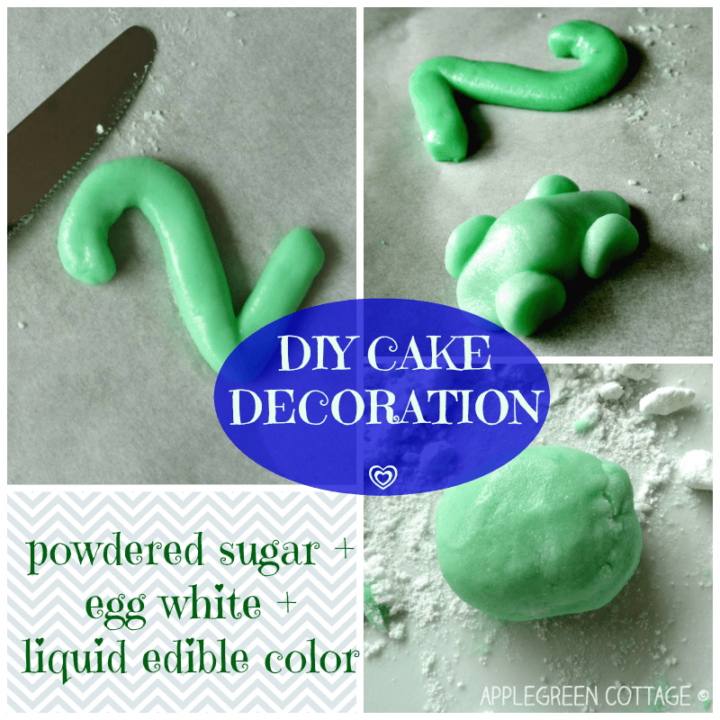
Ingredients
- egg white
- powdered sugar
- food coloring (liquid is best)
Steps
Here are the steps to make your simple gum paste for homemade cake decorations:

- Take a totally fresh egg and use a few drops of eggwhite
- add two spoonfuls of powdered sugar and
- a drop of liquid edible coloring.
- Mix well. Voila!
- Design your diy cake decorations.
How To Create diy cake decorations using homemade gum paste?
Now it's time to start designing your diy cake decorations. Wash and dry your hands, then start by using just a pinch of the mixture. Knead a bit to soften, then start designing. Feel free to use a small spoon, knife, or even toothpicks for tiny details.
Make sure to use the gum paste immediately after you've made it, or wrap in the clingy foil if you need to store it for later. Definitely don't let it dry before you start using it.
Basically, it's just like working with playdough. We usually first try to design the number representing the kid's age. My favorites are flowers and floral designs, but for kids, well, toys and cars and little animals. Your call!

How Much In Advance To Make homemade cake decorations using gum paste?
Here'0s what we do: we design and create our diy cake decorations from homemade gum paste well in advance, usually at least a day before making teh actual birthday cake.
Fact is, these tasty homemade decorations need a few hours to dry, and it's so convenient to have them all ready to pop on your finished cake whenever you need. Sometimes just minutes before the birthday party begins!
I'd suggest making the decorations a day or two before making the cake so there's less work for you to do in that final busy hours before the party.
And it's great if the kid has eaten (healthy food) just before starting the activity - otherwise, you might end up without the products.
How To Use Homemade gum paste for kids play?
Why not use something else than playdough once in a while when playing with kids? Sweetgum paste instead of playdough - doesn't it sound inviting? Your kid's birthday is just the time for something like that.
Now you can make that tiny animals or boats or cars for your kid's birthday cake! Use many colors! It's fun. (There are also AZO-free dyes on the market.)
Your kid can help. In fact, they will love to. It's fun and close to working with playdough - only it's edible, and it tastes sweet! I made a lot (and I mean a lot) of diy cake decorations when I was a kid, helping my mom who used to make a loot of cakes (and again, I mean a lot). As I recall, I was modeling more gum paste than playdough in those years...
I was working alone this year, but next year, oh, I'm so looking forward to this! I've even made up a name 'pre-birthday kids creative time' 😉
Save to Pinterest for later use:
I hope this was an easy way for you to see how to make diy cake decorations using homemade gum paste using just 3 simple ingredients. Enjoy!
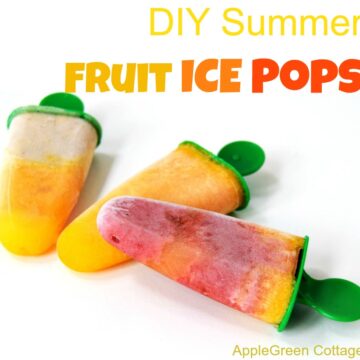
Want more easy ideas? Try these:
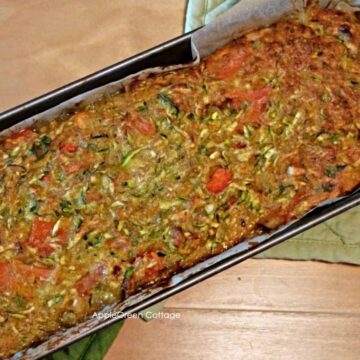
- our favorite yummy muffins
- super easy coconut cookies
- tehse trendy hot cocoa with marshmallows
WANT MORE FREE TUTORIALS AND PATTERNS?
Get email updates and never miss out on new patterns, printables, and tutorials:

Mionna Henderson says
Hmm...never thought to make your own cake decoration. This is a great idea, and yours look amazing...better than the ones you buy out of the stores!
Cathy McInnes says
What a great idea! Love how thick the letters and numbers turned out! And the share of green is great! Green is my favorite color-in any shade!
Cathy
Michelle says
Genius! I'm totally trying this. I went cake crazy for my first son. He got an octopus, diggers, a dinosaur & more. My poor second son got a round cake covered in sprinkles lol
Damjana says
Michelle, good, glad to help you to new ideas. But now I'm sooo curious - could I see your octopus cake? It sounds an amazing idea 🙂