

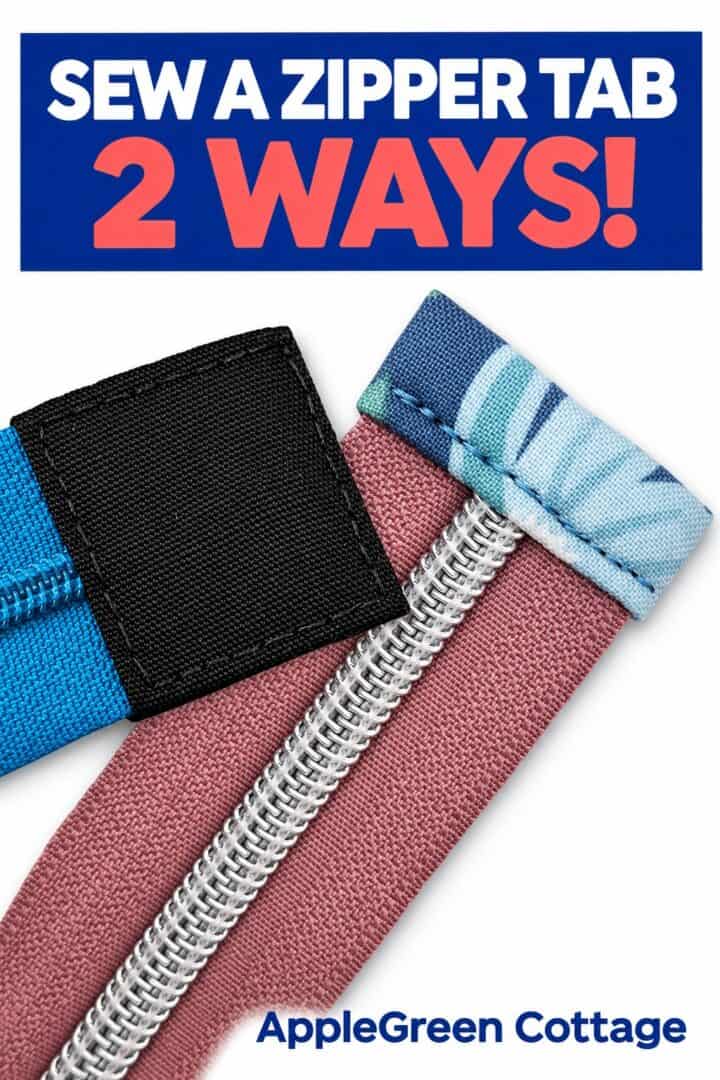
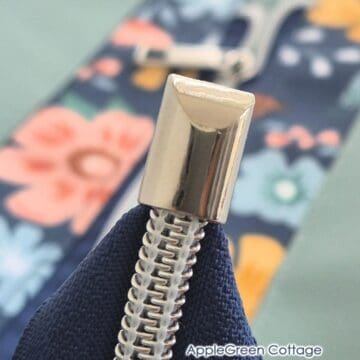
See how to sew a zipper tab on bags to make the bag open wide. A tiny detail that makes a big difference!
A fabric zipper tab gives your bag a neat finish and helps it open extra wide, so you can see everything inside. No more digging around.
I'll show you two easy ways to make one - pick your favorite!
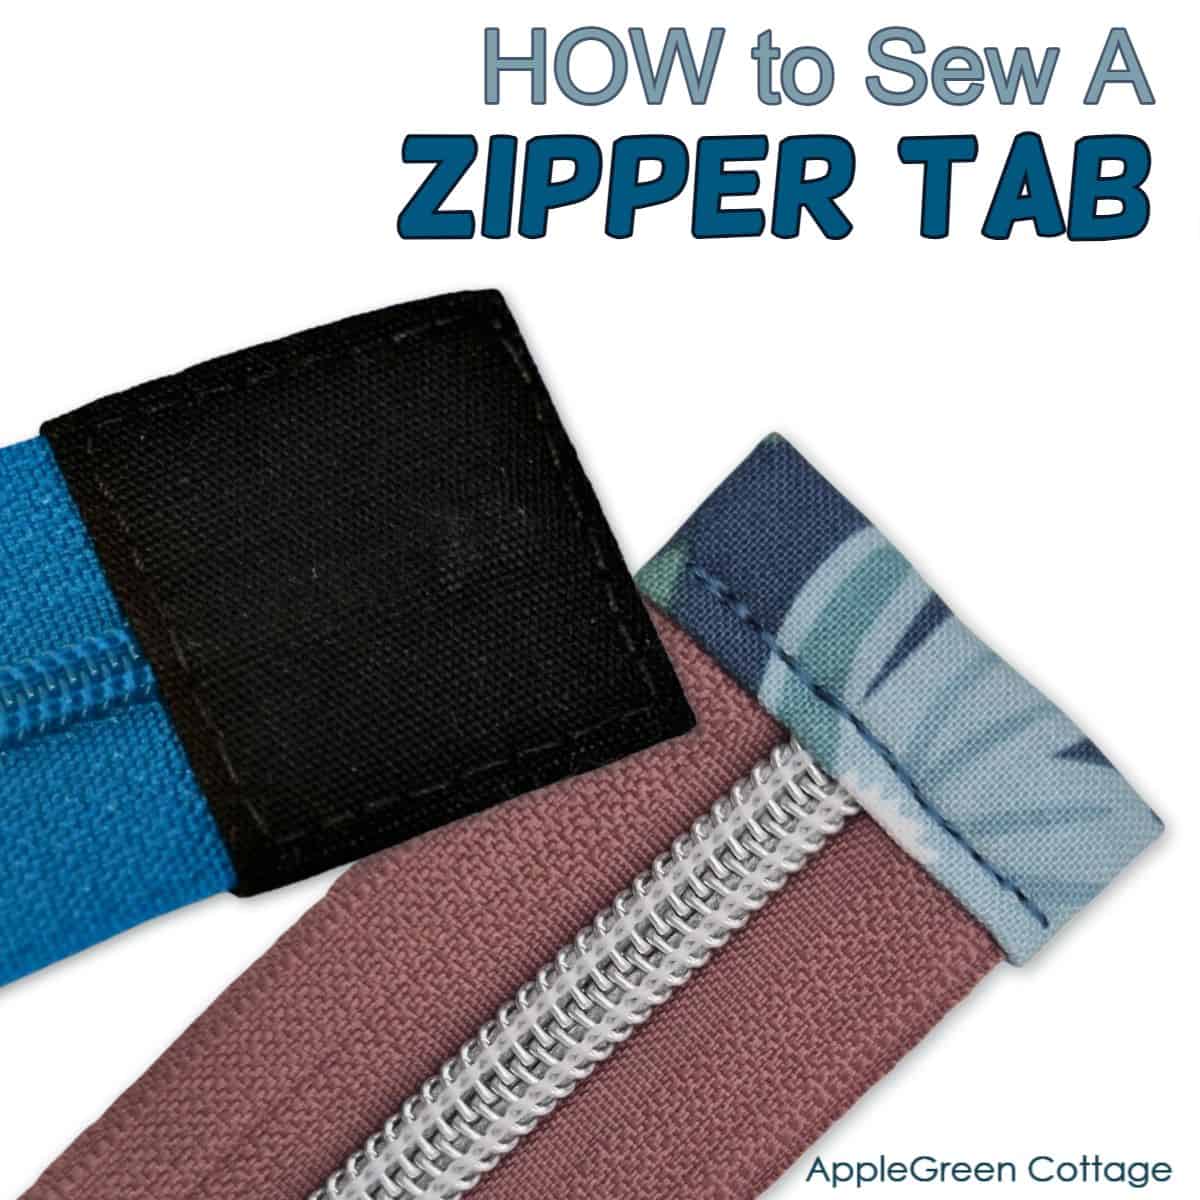
Table Of Contents
Last time I showed you how to attach a metal zipper end. Today, we're using fabric! Here are two easy ways to sew neat, professional-looking zipper tabs that also make your zipper easier to grab and use. Both have beautifully finished edges - no raw edges peeking out! One was made for the Teya Crossbody Bag, and the other for the Avela Tote.
Zipper Tab sewing Steps - Method 1
I've made this first tutorial for my TEYA bag pattern. It's best suited for thinner fabric like quilting cotton, not faux leather due to multiple layers. The finished tab has a square shape.
Supplies
- zipper (I used #3 with 1" zipper tape width here) - cut it approximately 4" (10 cm) longer than the bag width would require
- Fabric - quilting cotton works best. Cut one piece: twice the zipper tape width by four-times the zipper tape width
So, for the #3, one-inch wide zipper tape, you'll cut out a rectangle 2" by 4" (5cm x 10cm), for a #5 zipper, cut 2.5" by 5" (6.5 x 12.7cm)
Step 1 - shorten the zipper
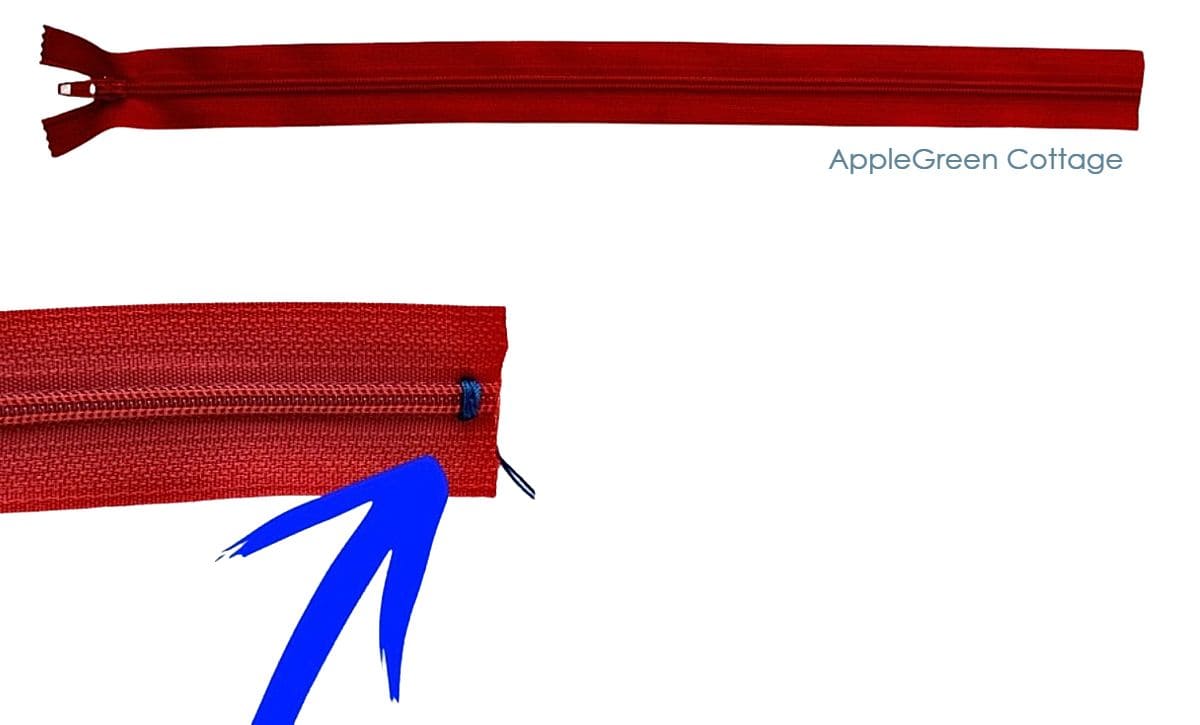
Before you start attching the zipper end tab, trim the zipper tape, leaving a 3"-4" tail (7.6-10 cm) longer than your bag width requires. Secure the cut end with a few stitches ⅛"-¼" (3-6 mm) from the cut.
Step 2 - fold the fabric piece
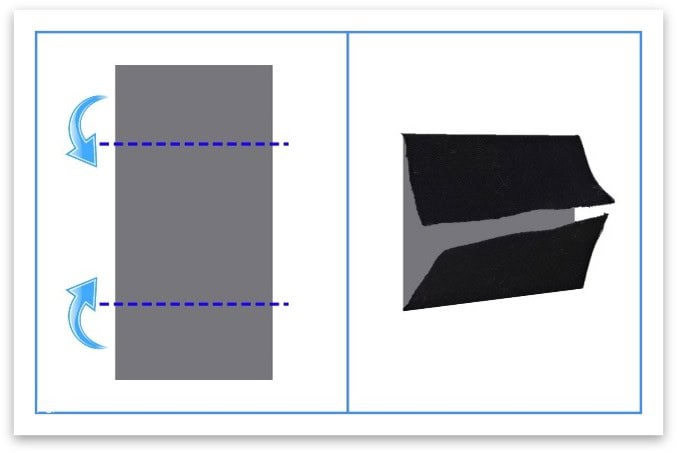
Fold both the upper and the lower edge towards the center and press.
Fold again, this time the left and the right edge towards the center. By now, you'll have this:
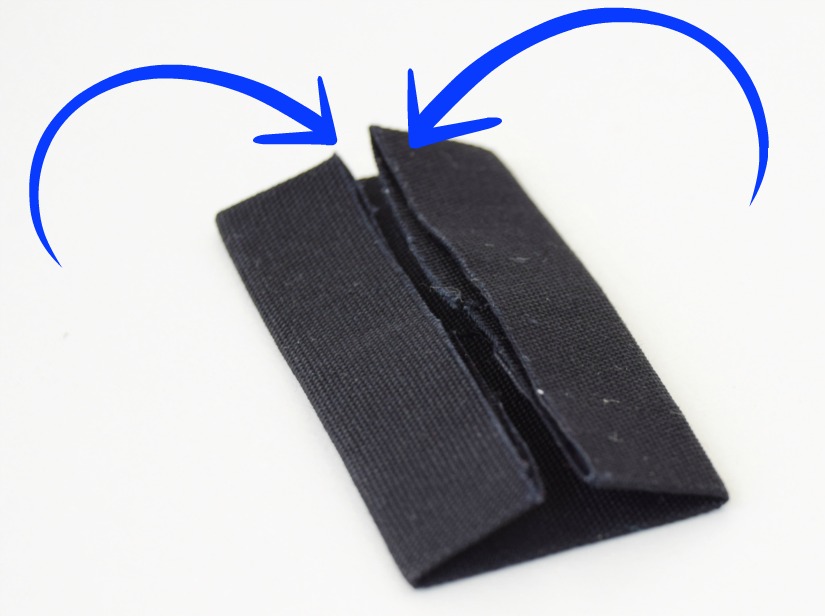
Step 3 - Check width
It must be the same width as the zipper. Double-check now:
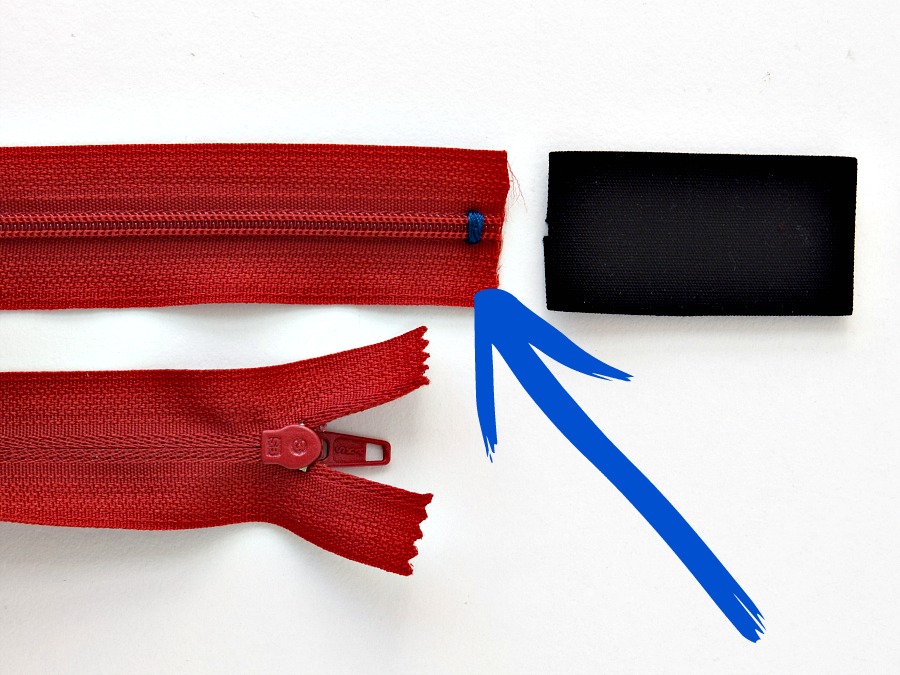
Step 4 - Slide on
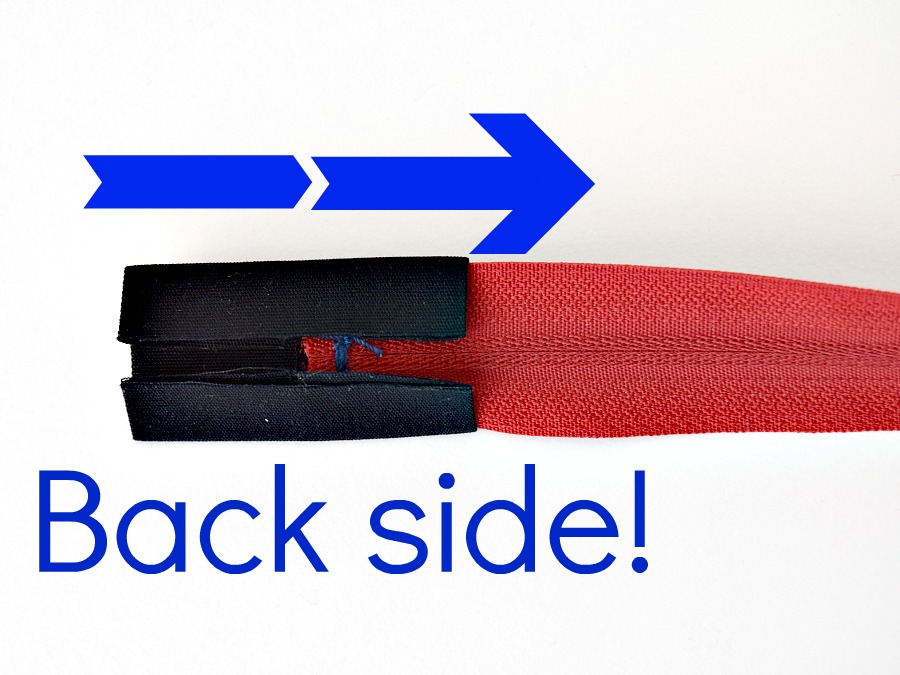
Slide the piece onto the trimmed end of the zipper - to the middle of the piece. The right side of the zipper should be facing away from the open side of the tab.
Step 5 - Fold
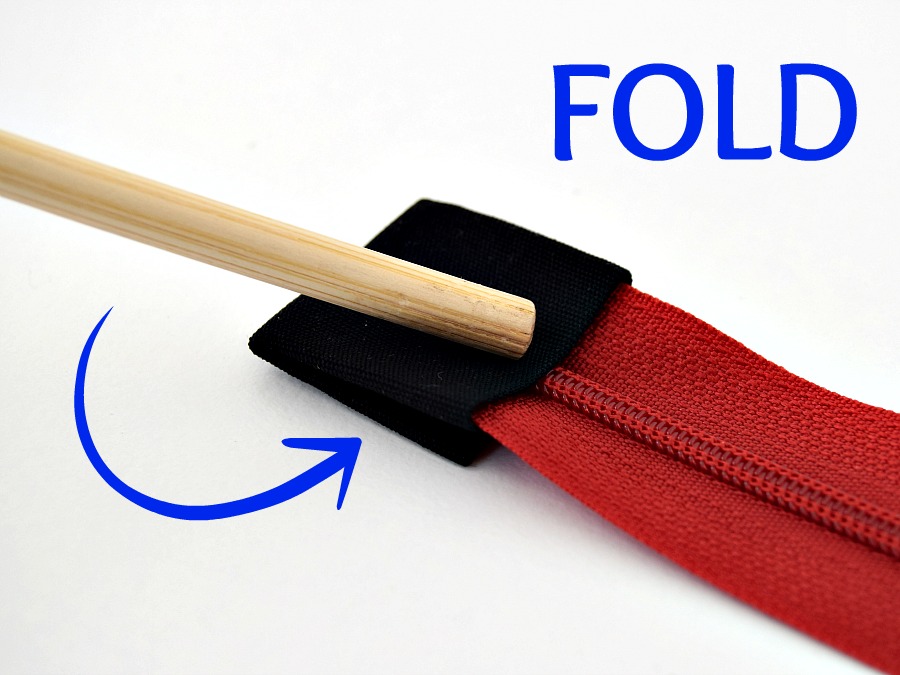
Fold the other side of the zipper tab over to match up with the folded edges, making a box. Make sure to hide all raw edges.
Step 6 - Baste or glue in place
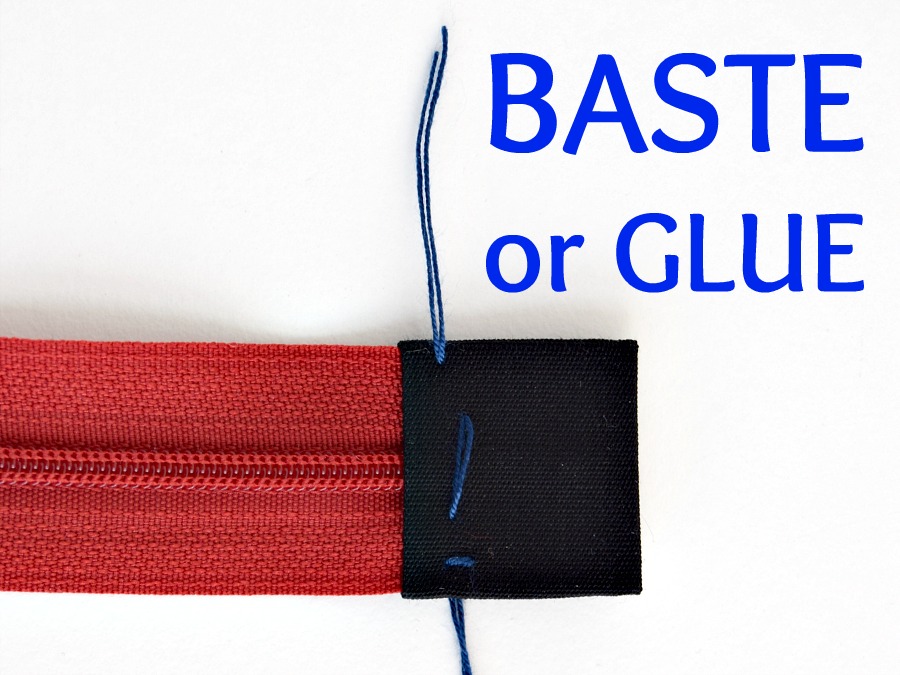
To prevent the folds from shifting, make a few basting stitches by hand or use double sided tape to hold them in place. (Pinning doesn't work for me here, as the area is too thick and too small.)
Step 7 - Sew
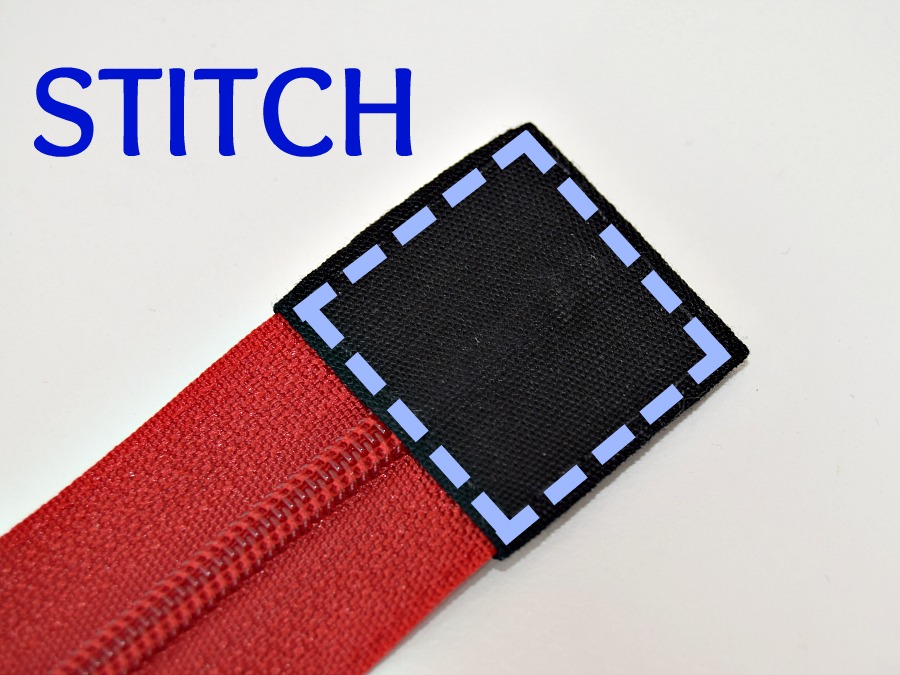
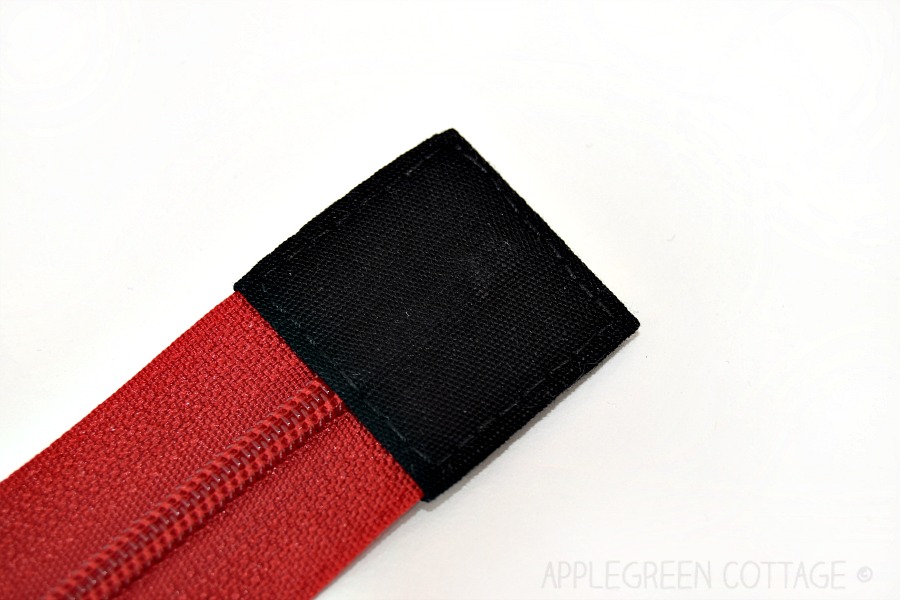
Stitch around the tab, using a long straight stitch (8 stitches per inch or less - this equals 3 mm or more in metric). Pivot at corners: lift the presser foot, needle in, and pivot the fabric at each point. Makes sewing easier for you, and the seams neat!
BONUS TIP
For a nicer finish, I suggest you don't back-stitch - leave the thread ends longer, pull them to the back of the tab, and use a hand-stitching needle to pull the threads into the fabric. Here's more about how to bury the thread.
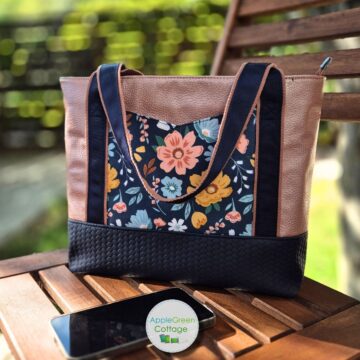
See how this little zipper tab looks on a finished bag - it helps the zipper open wide and works beautifully on slim bags like my my TEYA bag!
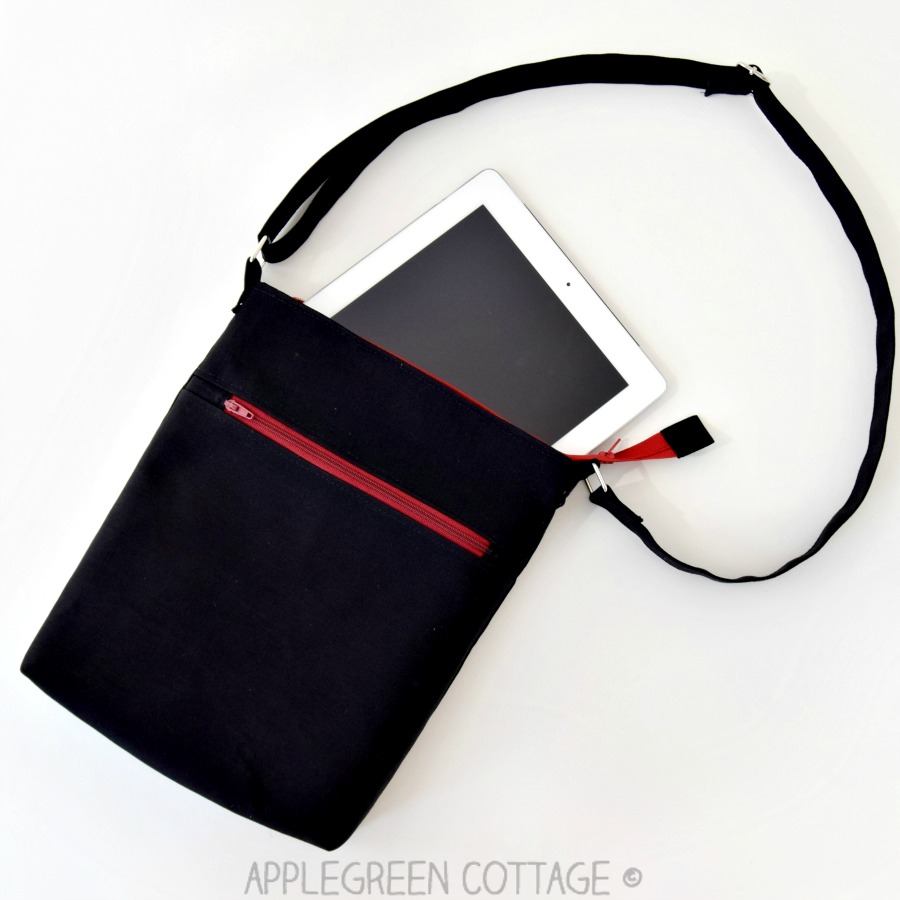
Now it's your turn: encase the zipper end in a piece of fabric and give your zipper pouch or bag a nice finish.
Zipper Tab sewing Steps - Method 2
I used this method for my AVELA Tote. It creates a shorter, rectangular zipper tab - here, I'm using a #5 zipper.
You'll sew through several fabric layers, so I recommend again starting with quilting cotton. Even though this method has fewer layers than Method 1, save thicker fabrics like canvas or faux leather for later. Let's take a closer look!
Supplies
- zipper (I used #5 with 1 ¼" zipper tape width here)
- a piece of fabric (try with quilting cotton first)
These are the dimensions for #5 zipper: 2 ½" (6.4 cm) by 2" (5 cm). For a #3 zipper, cut a 2" square (5 cm2).
Prep - shorten the zipper
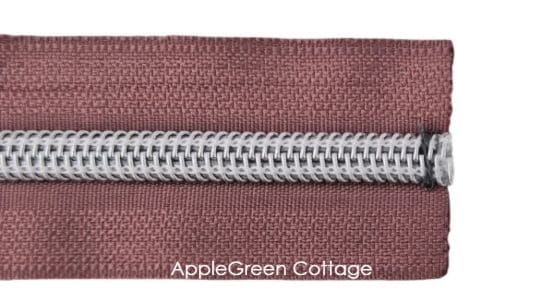
Before you start attching the zipper end tab, trim the zipper tape, leaving a 3"-4" tail (7.6-10 cm) longer than your bag width requires. Secure the cut end with a few stitches ⅛"-¼" (3-6 mm) from the cut.
Steps 1-2 - attach the fabric
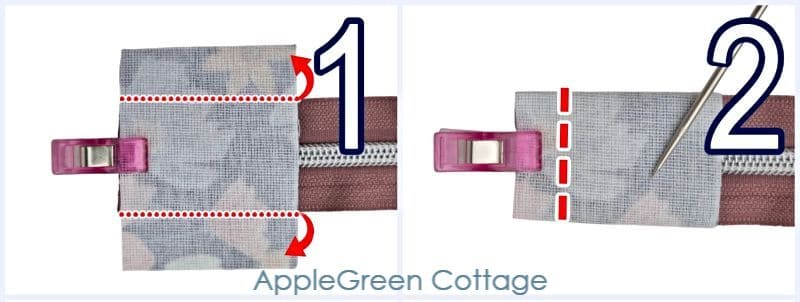
- Place the zipper tab wrong side up over the zipper end, with the wider edge along the zipper end. Fold the side edges under and clip in place.
- Sew across ⅜" (1 cm) from the zipper end.
steps 3-4 Fold the fabric
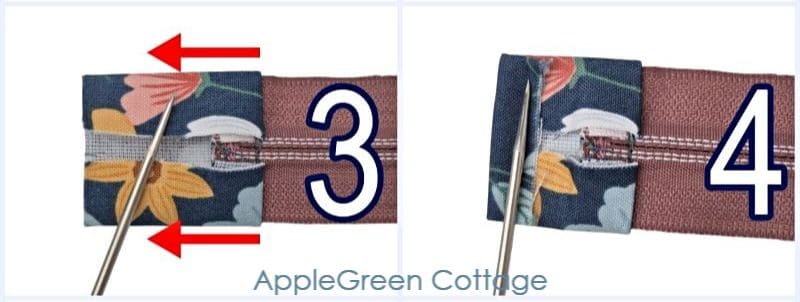
Flip and gently pull the tab away from the zipper and finger press, then fold the raw edge under by ¼" (6 mm), then fold again to cover the zipper tape.
Step 5 - Topstitch
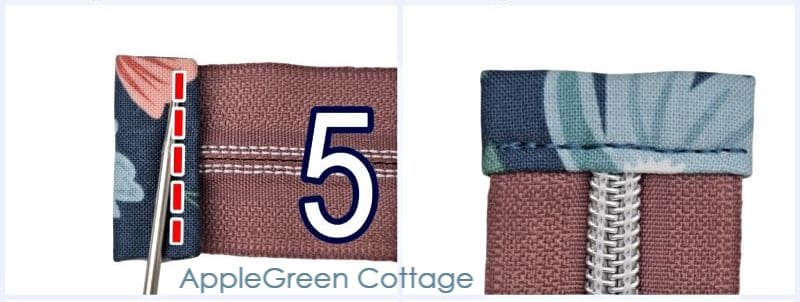
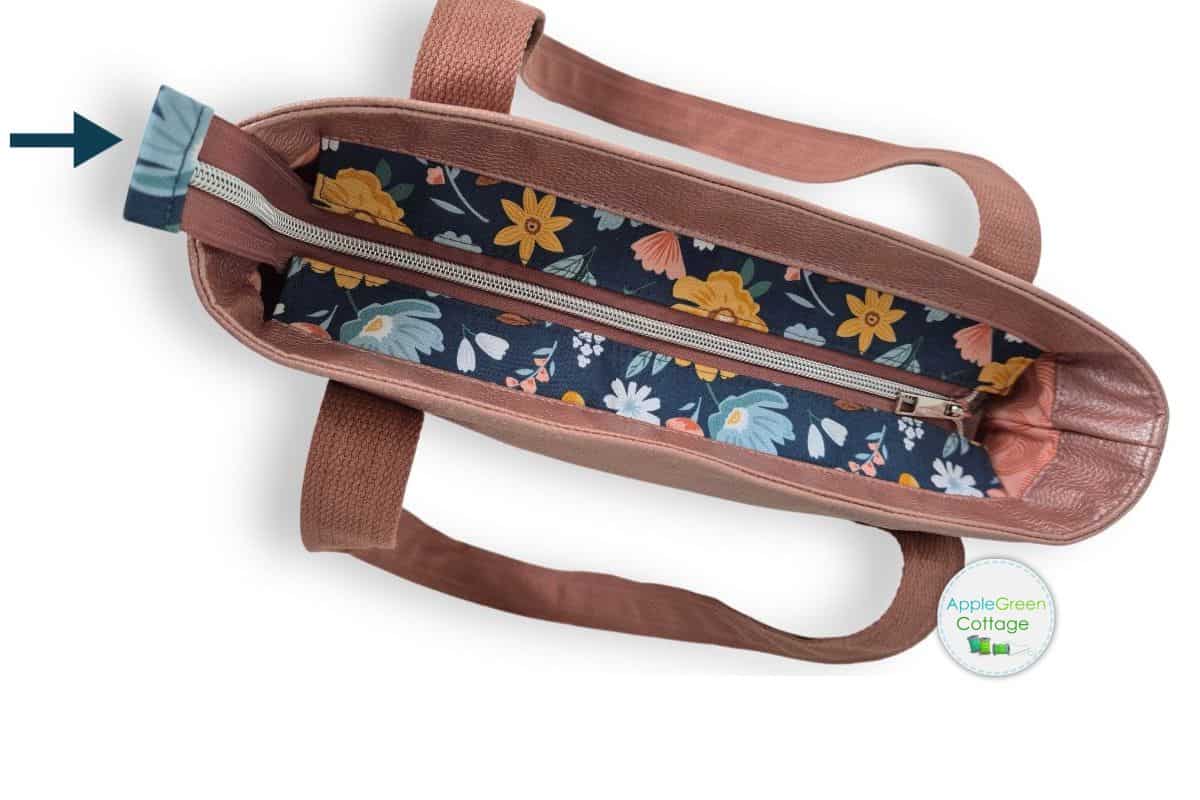
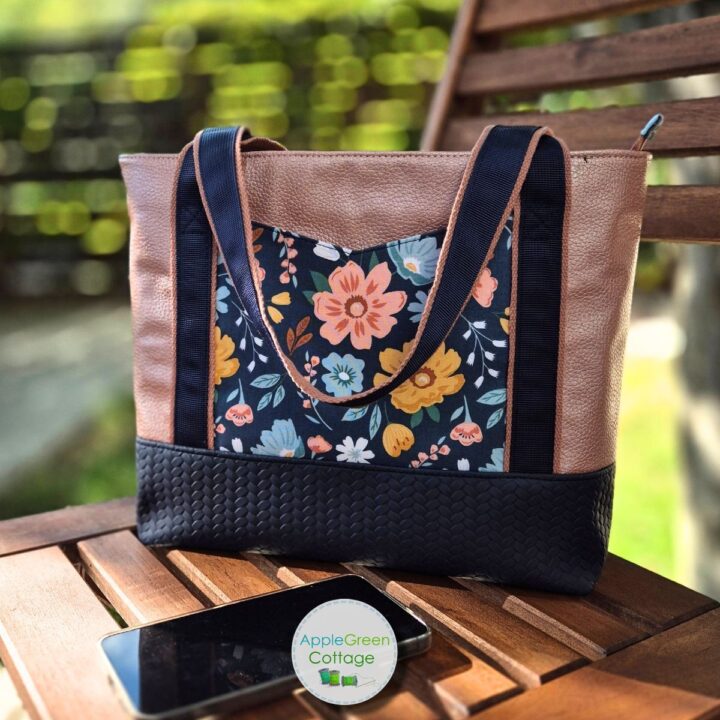
Topstitch over the zipper tab close to the folded edge, catching both tab layers. This will give you a finished tab width of about ½" (1.3 cm). Done! This is the tab on the finished Avela tote:
Sew Your New Favorite
What to sew next
WANT MORE FREE TUTORIALS AND PATTERNS?
Get email updates and never miss out on new patterns, printables, and tutorials:
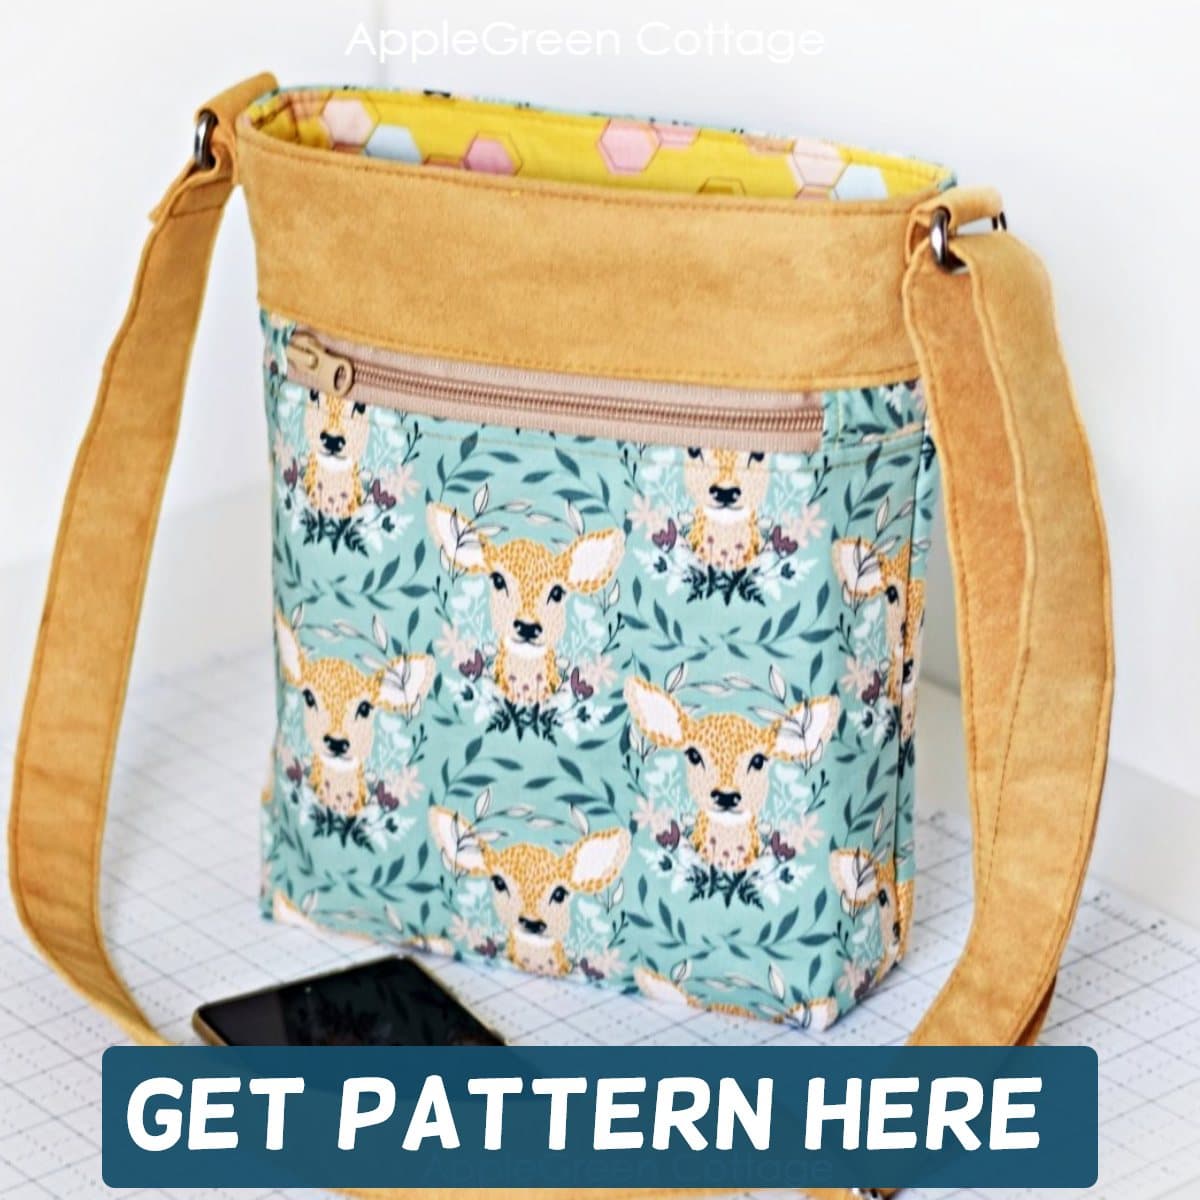
Or …check out the TEYA crossbody bag pattern in our shop. One of my first bag patterns with pockets both on the inside and outside - and it works great as a gadget bag too!
TEYA PATTERN UPDATED!
PATTERN UPDATED.
(It's the one I made the 'Method 1' tutorial for zipper tabs in the first place!) - Teya Bag Pattern here.
Candy says
Thank you so much for this tutorial. I'm just now sewing for Christmas gifts for my 6 granddaughters!
Damjana at AppleGreen Cottage says
Candy,thanks for dropping by. I'd love to see what you make for your granddaughters!