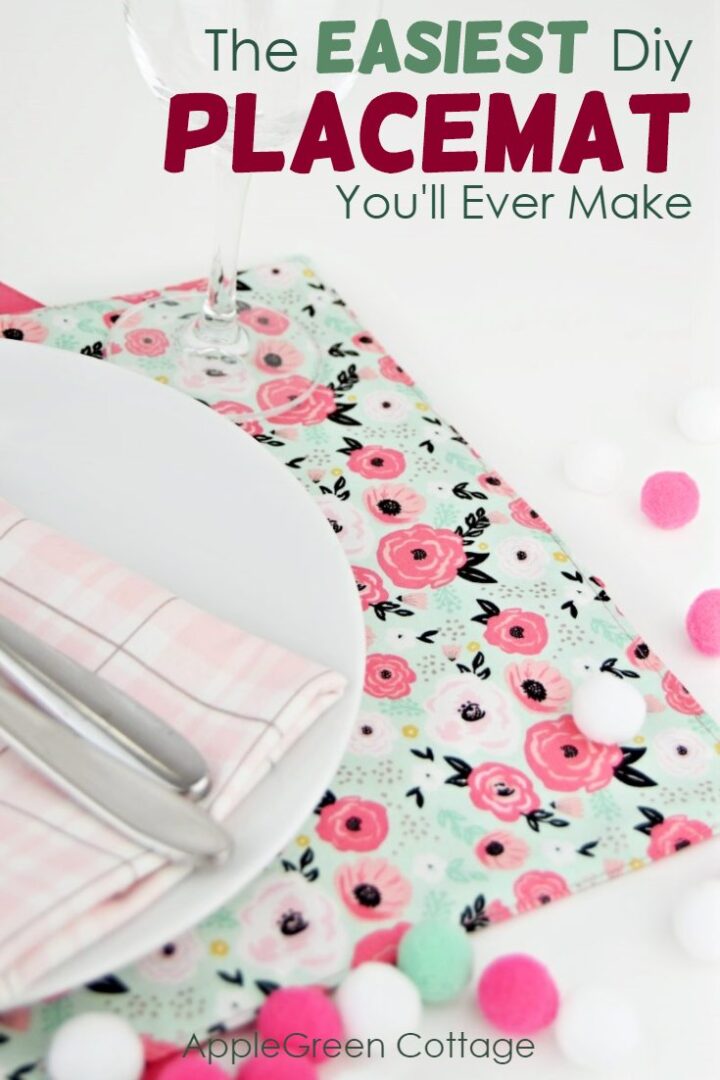
See how to make a placemat and add a fresh touch to your dining table with these super quick diy placemats - probably the easiest ones you'll ever sew!
They also make fantastic diy handmade gifts.
And they are perfect if you're new to sewing. I know I say that a lot these days, but really, trust me on this one: super simple. Like 2-stitching-lines simple. Let me show you how to make a set of reversible placemats in under 30 minutes!

Do you want an ad-free, printable copy of this online tutorial? Find it here for just $3. You won’t need to access the internet every time you want to make it. ------ Or get the BUNDLE with ALL the Printable Tutorials - current and future ones!

This post contains affiliate links. Thanks for your support. If you like sewing for home, check out these popular patterns too:
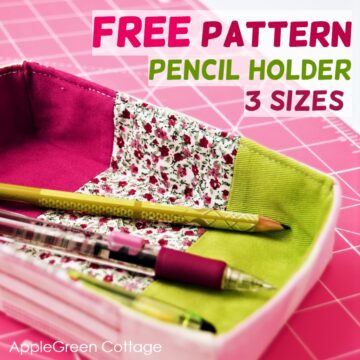
- Trinket Tray And Pencil Holder - Free Pattern
- This diy envelope pillowcase (Easy To Sew + BEAUTIFUL!!)
- or make your dining room look beautiful with this diy table runner.
Back to our placemats. This pattern for placemat is super simple, in fact these diy placemats are probably the easiest home sewing project you could ever do - mix and match with this pillow cover and these diy napkins!

I made these cute and super fast diy placemats to add a little color and style to our Valentines' dinner - the easy way! Actually, I did not want to use them just on Valentine's day, so I skipped the hearts on fabric and used one of my fav floral prints from my stash (it sparkles! But I can't convince my camera to show that, sorry. Looks like you'll have to take my word for it LOL). This way, I can always add a few pompoms, a heart decoration and here it is - a perfect Valentines' dinner setting. And they mix and match so well with this diy Valentines mug rug!

And they are reversible, just in case you change your mind and want to change the color! Now to think which of these free table runner patterns I should use to make a matching table runner...
EDIT - This tutorial is part of the new SewPretty HOME series - it's free:
Join the FREE 7-part email course and make 6 beautiful items for your home! You'll love it!
What is the Best Size for A Diy Placemat?
Where I live, the standard size for rectangular placemats is 45 by 35cm (18" by 14"). I made them a bit smaller to go with another set I've already got (Love mixing and matching? Me too!)
But there is no hard rule about the sizing of your diy placemats. If your tabletop space is limited, feel free to adjust the sizing, good alternatives are 18 by 13", or even 14" by 11" still works great on smaller tables.
Next come supplies and a step-by-step tutorial. Short on time? Save this tutorial to Pinterest for later using this link and so you're ready when it's time to sew:

Supplies And Tools to Sew Diy placemats
Supplies:
- 2 fat quarters or half-yard of fabric per placemat
- half the fabric size of fusible fleece, interfacing, or batting
- matching thread, sewing machine, iron, pins or sewing clips, scissors
Also, good to have: rotary cutter, quilting ruler, and a self-healing cutting mat (I have 5 of them, all these by Olfa)
For detailed tips on what fabric is best for placemats, and what interfacing/batting/fleece to use, see the end of this tutorial.

How To Make A Placemat that is reversible
I'll give directions to make one placemat, so I don't confuse you with multiples of pieces required. But bear in mind that placemats get really pretty when made in sets.
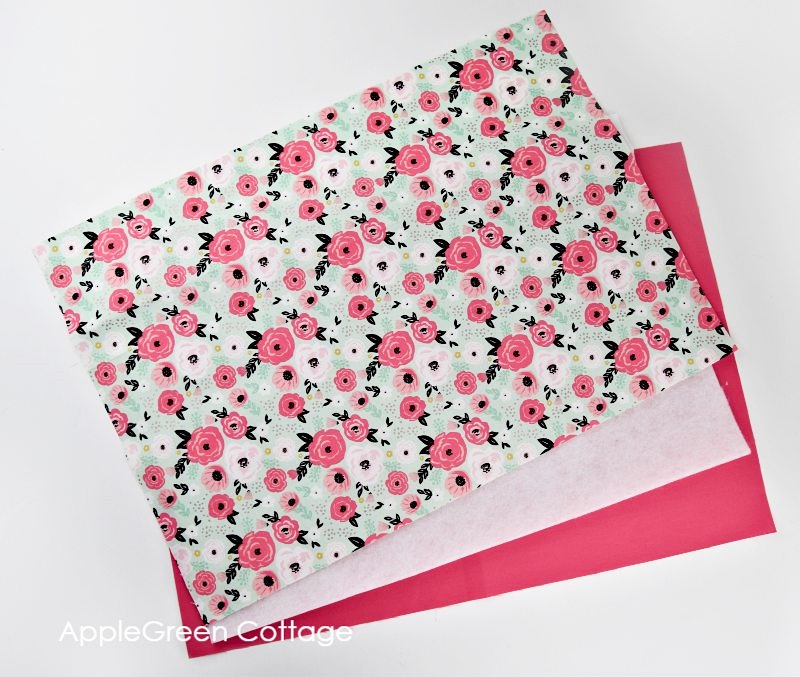
Step 1 - Cut Your Fabric And Fusible Fleece
Cut two 18" by 14" rectangles from your fabric and one rectangle from fusible fleece - this one should be smaller by an inch both in width and length.
Step 2 - Add Fusible fleece
Add fusible fleece to the back of one fabric piece. Usually, I'd fuse the fleece to the fabric I plan to have facing down, for the most part. Here it's the raspberry solid.
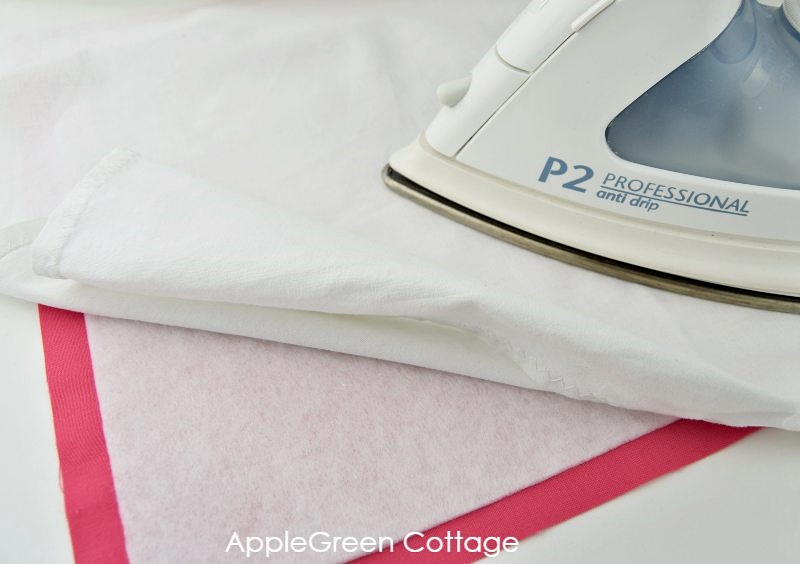
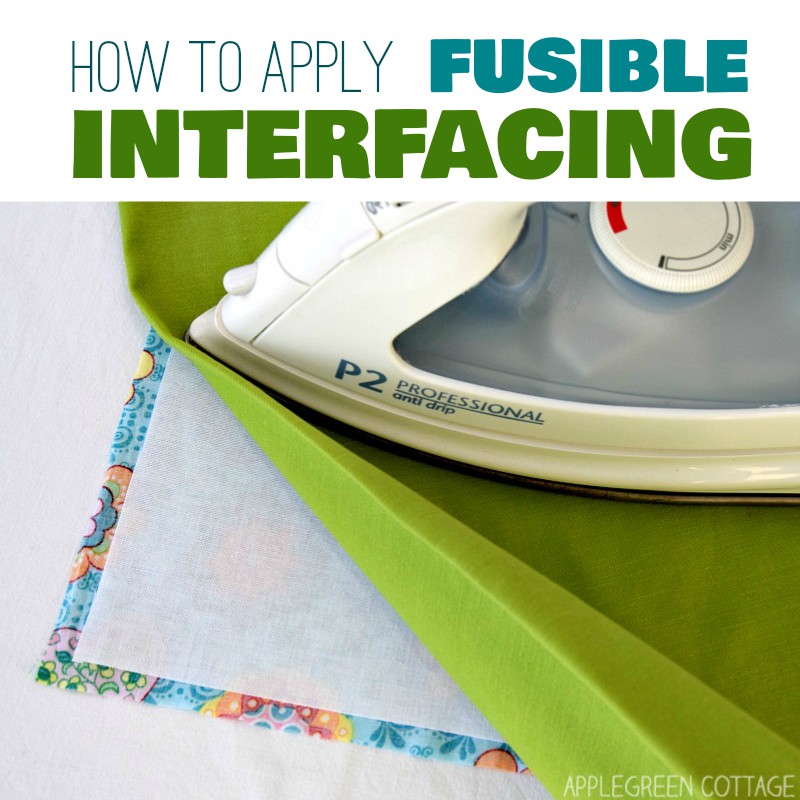
If you're new to fusible interfacing, use this quick how-to for applying fusible fleece.
Or visit my easy Interfacing Guide For Beginners. Super useful for all your future projects, I promise!
Step 3 - Sewing Step
Place the two pieces right-sides-together and sew around using a ½" (1.3cm) seam allowance. Make sure to leave a gap of a few inches for turning on one short side.

Step 4 - Clip Corners
Clip the corners for a neat and clean finish.

See how to clip corners and make sewing easier.
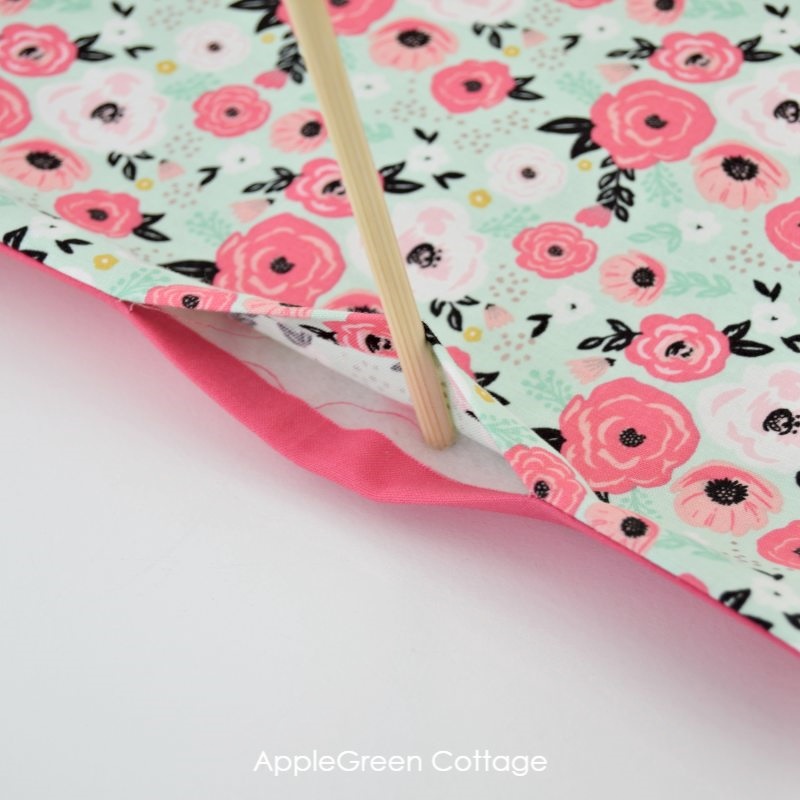
Step 5 - Turn Right-Side-Out
Turn right side out, poke the corners out and press well. Turn the raw edges on the turning hole towards the inside and press, too.
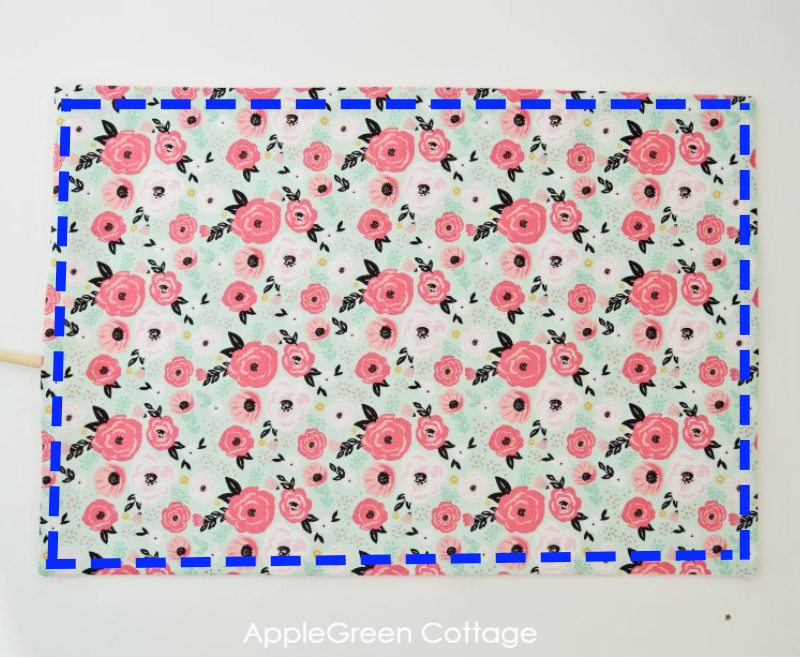
Step 6 - Topstitch Your Diy placemat
Topstitch around the entire placemat using a seam allowance of up to ¼" (0.7cm) - this will close the turning gap, too.
Oh, and your topstitching will look prettier if you use a longer stitch length than usual. Call me crazy, but I go all the way up to 4 mm and it always looks good! (recalculating.. my 4mm would mean something between 6 and 7 stitches per inch. Looong, right!)
To add more style, you can topstitch again, this time ½" (1.3cm) away from the original topstitching seam, or even farther away, like 1 inch (2.5 cm). In addition to making the placemat prettier, it will also make the outer edge more stable. This is one of my placemats with a double topstitching:

Your diy placemat is finished. I hope you've enjoyed this how to make a placemat tutorial. Make a few more using the same placemat pattern (same sizing!) and you've got a lovely diy Valentines day set!
Just a few more questions to answer for my readers (you):
What is the best fabric for placemats?
Natural fiber, absolutely. You want it to be easily washable, it must stand the warmth radiating from your plate (or casserole) - and you probably love it when the materials are available in tons of colors and prints. This is why my go-to material for diy placemats is quilting cotton. Linen and canvas are amazing too, oh - and chambray works beautifully for placemats, and potholders too - take a look here!
What interfacing to use for placemats?
Placemats will turn out just a bit differently when using different materials for the layer that comes between the fabric. The easiest way - fusible fleece. This is what we'll use in the tutorial. But you've got additional options:
- medium-weight fusible interfacing will make your placemats a bit stiffer. Sturdiness, stability, however you call it, will bring them closer to the look of the store-bought placemats. If using fusible interfacing, definitely topstitch around to keep the layers in place. Same as when using the fusible fleece.
- quilting batting will make them softer, and those are beautiful when you add quilting. Use cotton to make it heat resistant, poly blends are good if you're just after decoration and not copncerned about high temperature.
- Or, if you want to make your placemat 'properly' heat resistant (so it can also double as a hotpad!), you can use Insul-Bright as interfacing layer. (I use this one). It's a special, sew-in interfacing product you usually use when sewing potholders and oven mitts. Also, you can read more about it in my interfacing guide for beginners.
Now make the table and enjoy your new diy decorated home. Happy Valentines, Galentines or whatever you choose to celebrate!
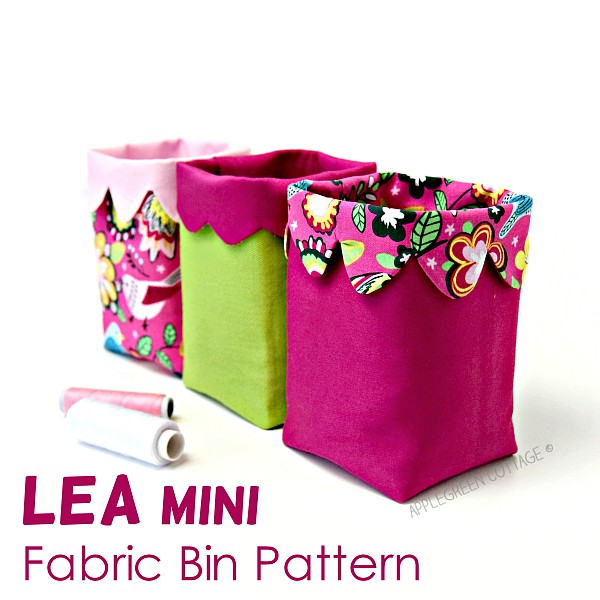
Sewing For HOME? THIS!
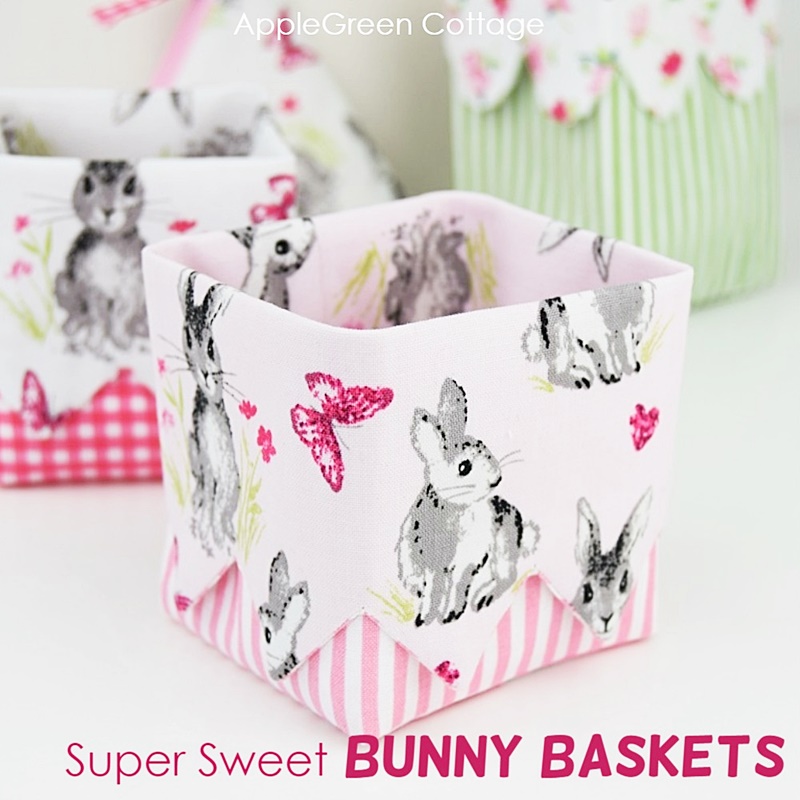
Get the LEA Mini Bin pattern in our shop.
Make sure to save this easy project for a quick sewing fix when you need it:

Looking for a next project? This!
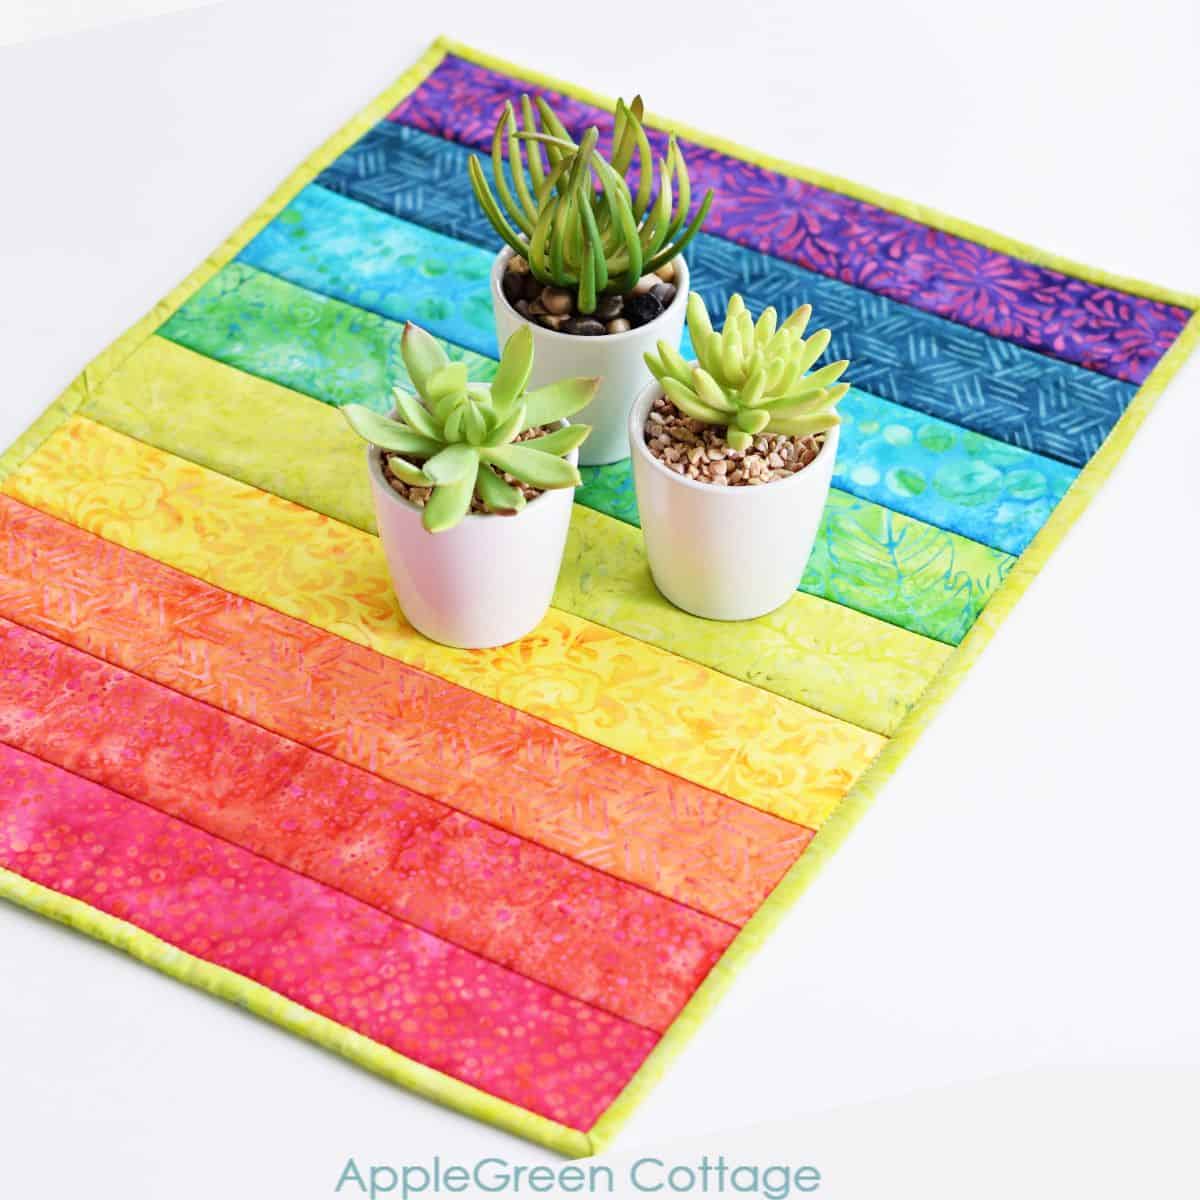
This easy quilted placemat tutorial in all the rainbow colors can be your first quilting project. It always turns out beautiful, and it's such a quick make!
Or, if you don't feel like sewing binding, did you know you can make a fully-lined oven mitt without any binding? Use this oven mitt tutorial with a free pattern.
WANT MORE FREE TUTORIALS AND PATTERNS?
Get email updates and never miss out on new patterns, printables, and tutorials:
Want More Spring Projects?
Check out the latest special pattern bundle that's available right now in my shop - perfect for your spring decor, and for every room in your home:
Robyn Lidstone
Can the top layer be a patchworked piece? Will this give the same result as a flat piece of fabric?
My Janome has a lovely fancy stitch. Could this be used instead of straight stitching around the edge of the placemat?
I love your designs, Damjana.
Becky
What do you think about flannel for use on placemats / table runner. Picked up some buffalo check super snuggle to use for Christmas….
Damjana
Becky hi,
ohh, that would be delightful! Just make sure to prewash flannel, as it shrinks considerably. Enjoy,
Alex
Hi, if you use sew-in interfacing do you have to use binding like you do on your potholder tutorial?
Damjana
Alex hi,
a great question. No need for binding. The only thing you need to do is first, cut the sew-in interfacing the same size as the fabric (not smaller) , baste it to the back of one fabric piece, then when you sew the layers together - before turning right-side-out, check out if it's possible to trim the interfacing layer just a bit to reduce bulk on the seams. Take care not to snip into the stitches though. Happy sewing,
Trang
Hi. I see that when you apply the fusible fleece to the fabric, there is another fabric between the iron and the fleece. Does that mean that the iron shouldn't touch the fleece directly, and what's the name of that fabric?
Damjana
Trang hi, a great question, and yes you're right. The fusible fleece does not stand heat well. I always use a pressing cloth - and then, flip the entire thing and press from the front side (cottong fabric) too. Hope this helps,
Denise Huff
I have a question. I am a beginner and a senior! You sew the 2 pieces right sides together and leave opening. Do you then pull all the the fabric through the opening after clipping the corners?
Damjana
Denise hi,
you're totally right: after step 4 where you clip the seam allowance on the corners, you pull the fabric from the inside through that opening, and once out, straighten the fabric. Also, poke the corners out, I love using a point turner tool, or simply a chopstick. I'm here if you need any help finalizing your project. Happy sewing,
Dawn
I'm fairly new to sewing. Everything was going great until I decided to sew the seam 1" from the topstitch. On my last side the material started to pucker. Have any idea what went wrong? I wish I could send a picture.
Damjana
Dawn hi,
maybe try first pressing around the placemat, from both sides, and make sure the fabric on both sides is even. Then try pinning the layers together before sewing, so the layers don't move while topstitching. Kind of like quilters do when quilting layers on a quilt. Let me know if this helps, will you? And if you need more assistance, please feel free to join our FB group We're a friendly, creative bunch of people, join in!
xoxo, Damjana
Nicole
Can you tell me what kind of sewing machine you use?
Damjana
Nicole hi,
contrary to one might expect, I use a basic sewing machine. It's Elna 220eX, which is the same as Janome model I mention in this post: https://www.applegreencottage.com/sewing-tools-notions/ (It also lists what features you absolutely need on a machine) Hope this helps, Damjana
Domenica | Easy Sewing for Beginners
Such a lovely placemat. I love this technique! Great for the beginning sewer. Thanks for the tutorial!
Diane Gill
This is a wonderful tutorial. Thank you. I do have a question about washing these. Will they shrink much or would it be better to wash your fabric first?
Damjana
Diane,
a great question. Considering these are made with quilting cotton, you'll need to expect them to shrink by 5% up to 10%. Unless you are about to cut the pieces on bias (diagonally to the grainline), you're safe: they will not deform even if shrunk, so you actually have two choices: either prewash all the fabric or sew the placemats 10% larger to compensate for later shrinkage. Hope this helps, and happy sewing!
xoxo, Damjana
Heather Handmade
Oh these are just perfect! I love that fabric you chose because it works for Valentine's day and springtime! I need to make some for my family!
Lisa - Cucicucicoo Eco Sewing & Crafting
I love how you take such simple projects and make them amazing! I love the idea of mixing and matching placemats. I'd never thought of that, silly me!! Haha!
lee
Thank you for the tutorial and I love the double top stitching!