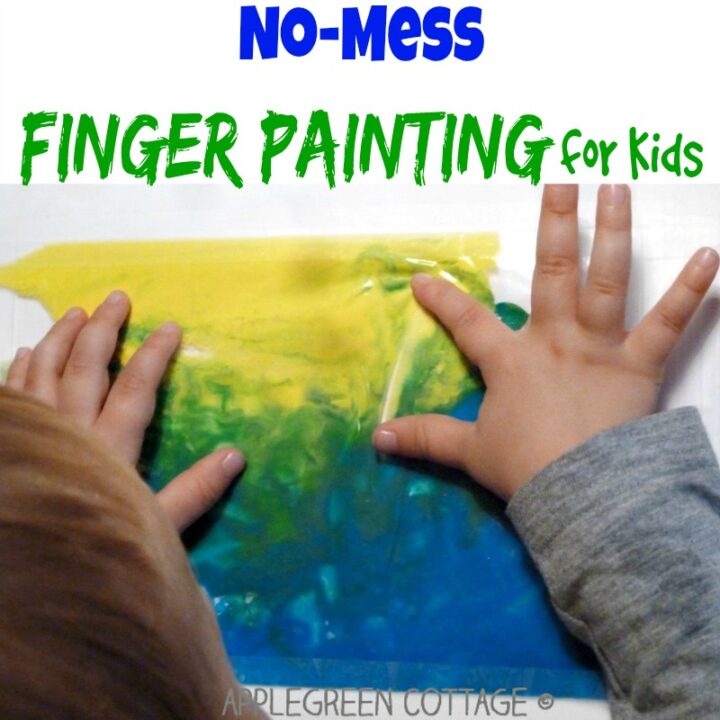
Finger painting using a ziplock bag is a colorful, no-mess sensory activity for kids of all ages. No mess finger painting is so much fun - and easy on parents. All fun, no cleaning - it's possible! Check out how to do it properly.

If you are looking for fun kids activities, check out these too:
- How to Make Easy Diy Paintbrushes - Quick!
- Diy Paper Bookmarks - Made By Kids!
- Water Walking Experiment For Kids
no mess finger painting
Ziplock painting is a great sensory and learning activity for any kid. Bonus points, no cleaning up is required after they've finished painting. I guess this is one of the main reasons this activity moms love most of all kinds of arts and crafts for kids.
No mess finger painting can be one of the earliest finger painting activities. And a fun kids art idea for days when you don't feel like cleaning up the mess after the art project is over! If you'd like to see the what, how and where (options!) and find out more about the paint types to use, you've come to the right place.
Supplies:

- a ziplock bag
- some finger or tempera paint (we used Ikea paint for kids)
- tape
I used scotch tape, but you might prefer something wider; masking tape is great!
How to prepare finger paint in ziplock bag
1) Put two paints inside the ziplock, a squirt of each will do.

2) Seal the bag really well, meaning it's best to zip it first AND then add some tape to the sides, covering edges. You can use any transparent bag for that purpose, but a ziplock will make it REALLY easy for you to let out any air.

3) Tape it to a window at a reachable level and let the fun begin!

Which PAINT TYPE and what COLORS?
- Fingerpaint. Tempera. Acrylic. Any paint that allows mixing and is not too much diluted.
- They need to have texture.
- In some cases, especialy when you expect a really heavy-duty use, you might want to use water washables, just in case the paint somehow gets out of the bag. It has happened before, when I used a bag made of very thin material...
- Just any of them. With a toddler, I usually used the basic yellow-blue, yellow-red, or blue-red combination (the first one being my favorite, as you can see in our water walking experiment, or the playdough mixing activity 😉
- We still haven't tried mixing secondary colors together this way, but I bet it will be fun too!

WINDOW, TABLE, FLOOR
Options, we love options!
1) Above, I've shown you the version of a ziplock bag taped to a window.
2) You can also tape the ziploc bag to the table. Here you'll probably notice it's best to tape all four sides of the bag to the table.Very suitable for babies who are not yet stable on their feet.

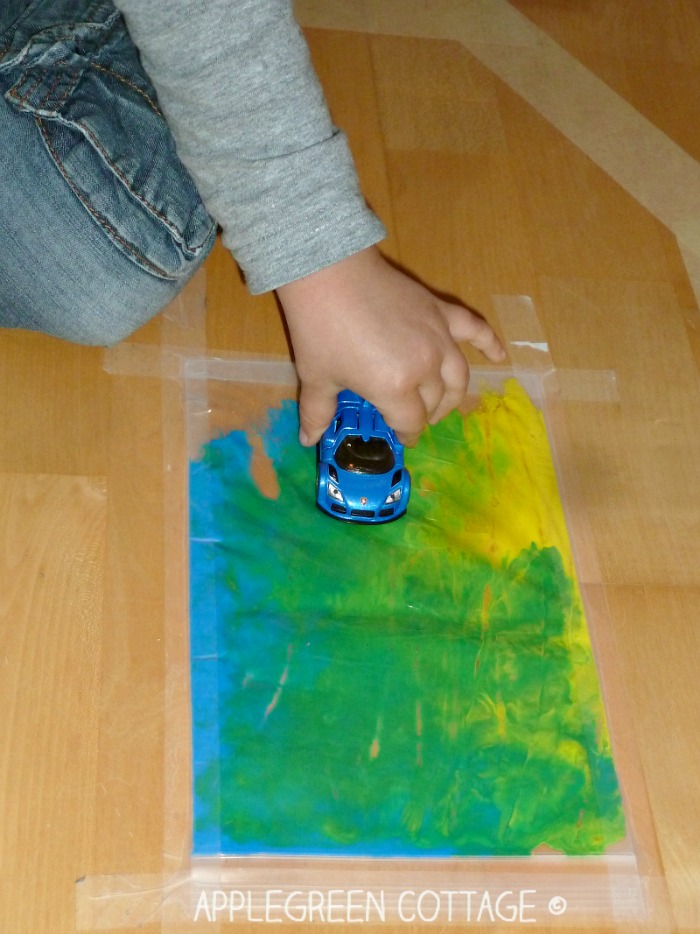
3) Or you can tape it to the floor. Kids will love making footprints with tiny animals (think dinosaurs), or driving cars over the surface (leaving tire marks, that's what kids love!). Just make sure the transparent plastic bag is larger and sealed up well (on all four sides) to protect the floor.

4) You can reuse the bag several times, each time adding a bit of a new color, getting nice secondary and tertiary hues. Or use it for paint bag writing activity - these are fun! I didn't manage to catch it on my camera, but it was so much fun creating letters (real and imaginative)!

Colors will mix gradually and slowly enough for the kid to get a better picture of what and how the transition happens from two colors into a new one. What a fun learning experience!
If you'd like to see more about fun color mixing activities - check out our water walking experiment, where you can make water 'magically' walk into another container, changing color at the same time.
That's a lot of fun for a single ziploc bag!
Oh and please don't mind our masking tape track on the photo, it is close to the spot where I taped the ziplock bag. It's so much fun, so we always have some sort of a road taped to the floor. Cheers to busy homes!
More? Check out this:

kendell
Excellent Idea TFS
Damjana at AppleGreen Cottage
Thank you, Kendell!